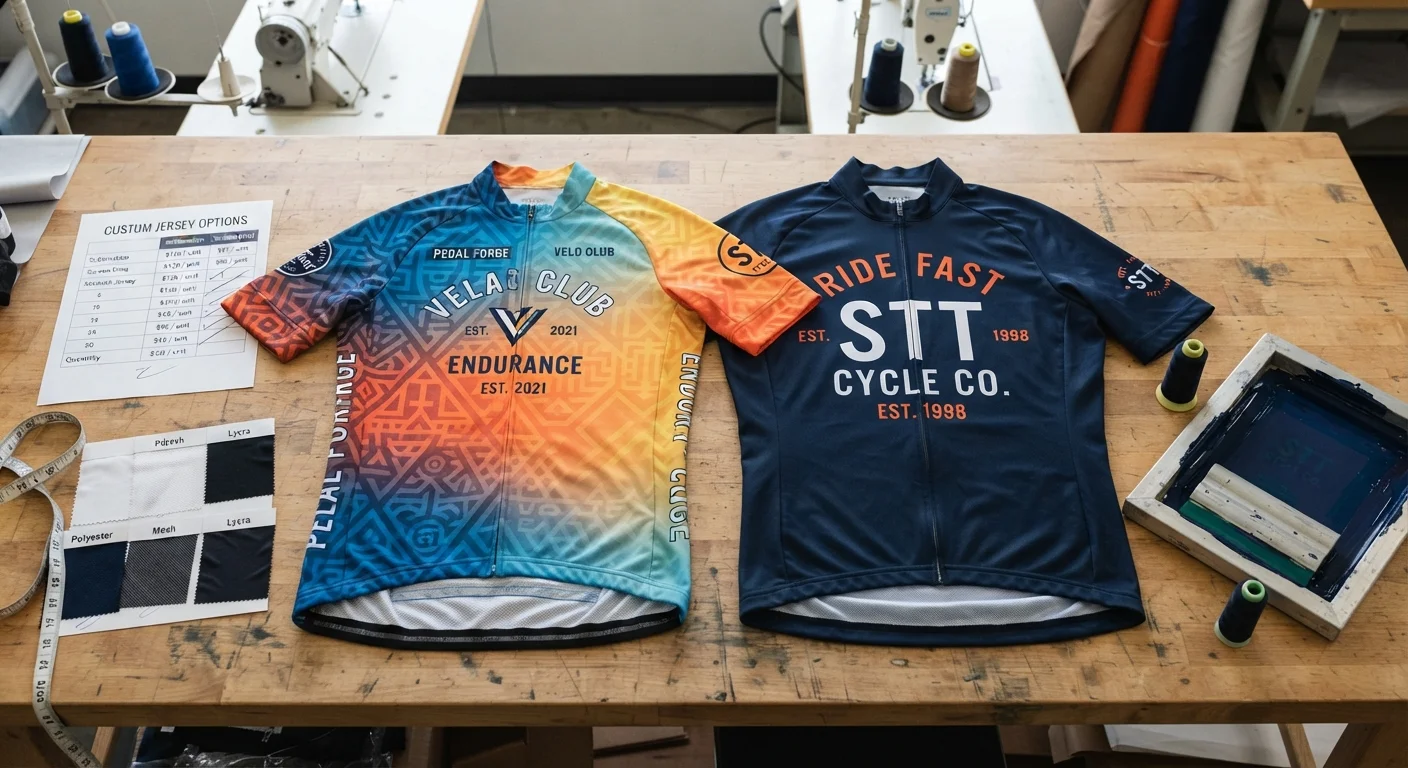
Your club captain just approved the design. Fifteen riders are excited. And now you're staring at a spreadsheet trying to figure out how "Alex" doesn't become "Alx" on the back of a jersey, or how #7 doesn't print twice. If you've placed a bulk cycling jersey order where every piece needs a different name and number, you already know the real challenge isn't the design — it's the logistics.
This guide walks through how experienced team organizers handle a personalized cycling jersey order for a full roster, using sublimation printing without the back-and-forth emails or last-minute panic. You'll get a ready-to-copy roster template, the exact questions to ask your supplier before you submit artwork, and proofing checks that catch errors before they're permanent. We'll build a process that gets it right the first time.
Step 1: Choose a Supplier That Supports Individual Rider Personalization
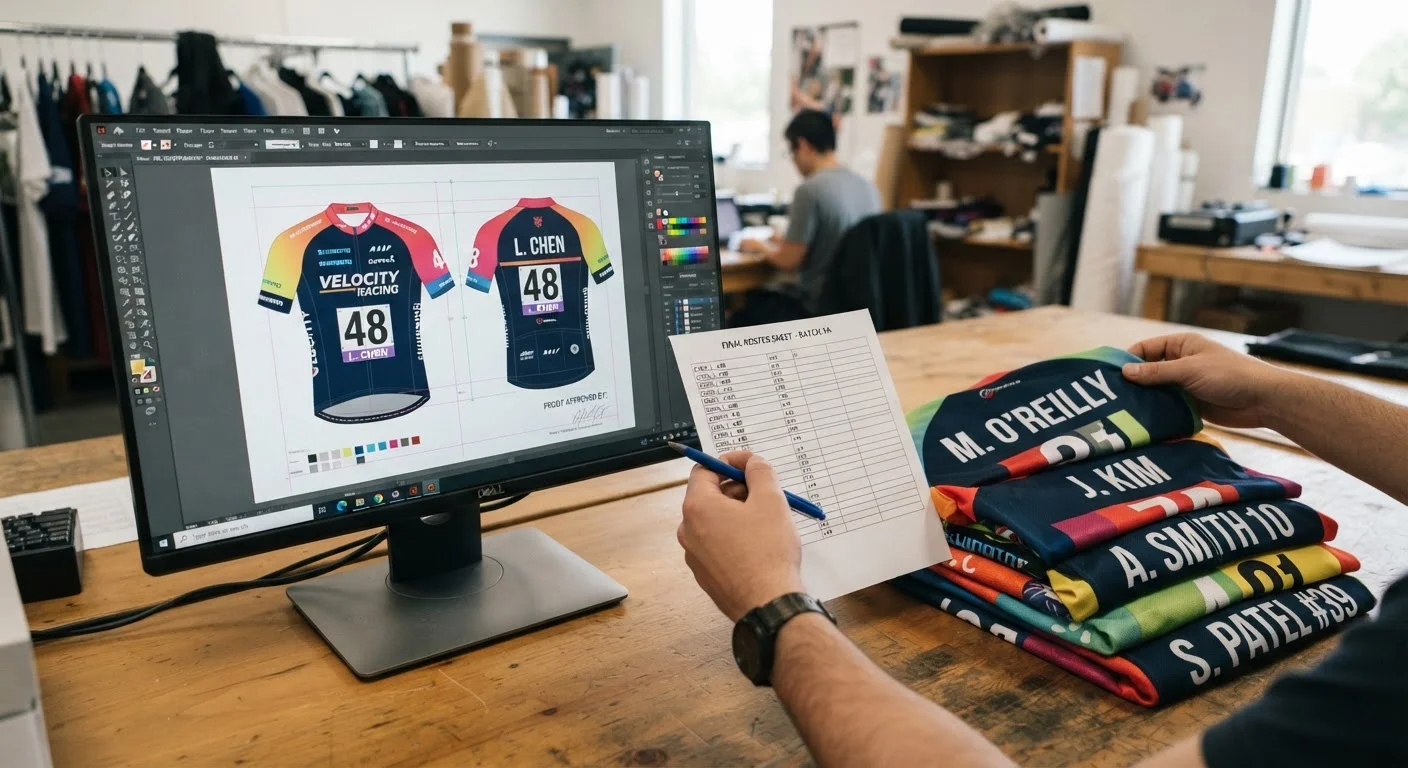
Not every cycling jersey manufacturer can handle 15 different names and numbers on 15 different jerseys. Some are built for standard team kits with one shared design, which works fine for identical jerseys but not for a roster where each rider needs their own name printed correctly. Before you open a design file, confirm your supplier supports individual name printing.
Think of how custom-build industries handle personalization at scale. Companies like CSBikes promote "100% Made for You" with free color selection tailored to each customer, while brands like ENVE and ASSOS structure their custom lines around rider-specific inputs before production starts. You want a supplier with a documented intake process, not a guessing game.
What to Screen For Before You Commit
Ask any potential supplier these questions upfront:
Do they support sublimation printing for full customization of cycling jersey, including individual names and race numbers per unit?
Can they accept a roster spreadsheet (name, number, size) instead of requiring separate orders per rider?
What's their minimum order quantity for mixed personalization: some suppliers require 20+ pieces minimum, others allow smaller club orders with a slight per-unit surcharge.
Do they provide a cycling jersey template design file so your artwork stays consistent across all 15 jerseys?
Is there a proofing step before mass production, or do they print straight from your submitted file?
Suppliers who can't answer these clearly, or who ask you to email them a list, are the ones most likely to cause reprint headaches. Look for a supplier with a structured order intake: form, spreadsheet template, or dedicated account rep. That structure prevents the "Alex vs Alx" mistake before it happens.
Step 2: Collect and Format the Rider Roster (Copy-Paste Template)
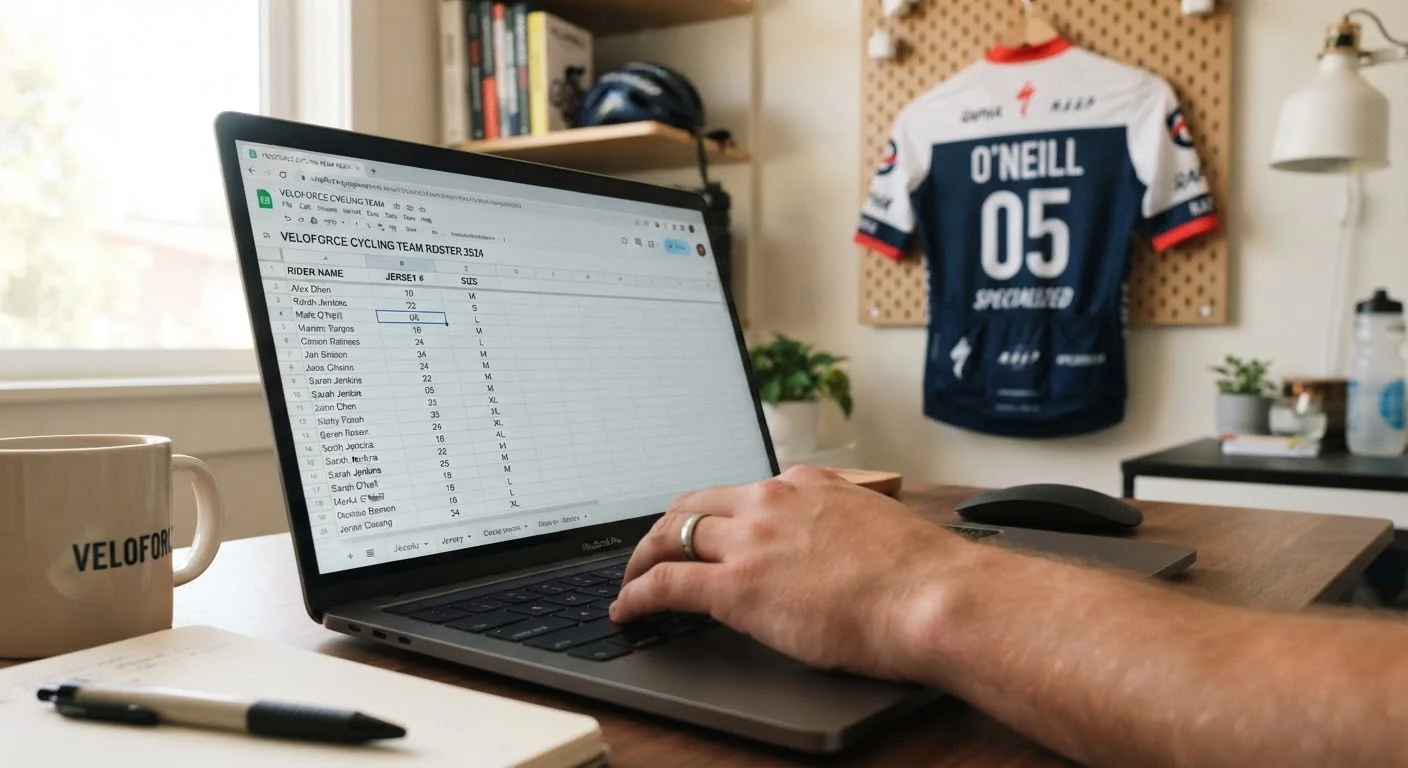
A messy spreadsheet is where 90% of jersey mistakes happen. Someone types “Sara” instead of “Sarah” in a rush, or forgets to update a size after a rider swapped teams mid-season.
The fix is a standardized template everyone fills out the same way.
Your supplier will want this header block at the top of the file:
Team | Season | Coach/Captain | Event or Order Date | Delivery Location
For each rider, use these columns:
No. | Rider Name | Position/Role | Height | Weight | Jersey Size | Number | Status | Notes
Nothing fancy, but every field earns its place.
Why Height and Weight Matter More Than You’d Think
Skip a cycling jersey size chart at your own risk. Sublimation printing is unforgiving on fit. A jersey that’s too tight distorts the printed graphics, and one that’s too loose looks sloppy in team photos. Ask riders to self-report height and weight against your supplier’s size chart (not a generic S/M/L guess), and log it in the roster. This one column prevents the second most common reprint request after spelling errors.
Building the Roster for Your 15-Rider Club
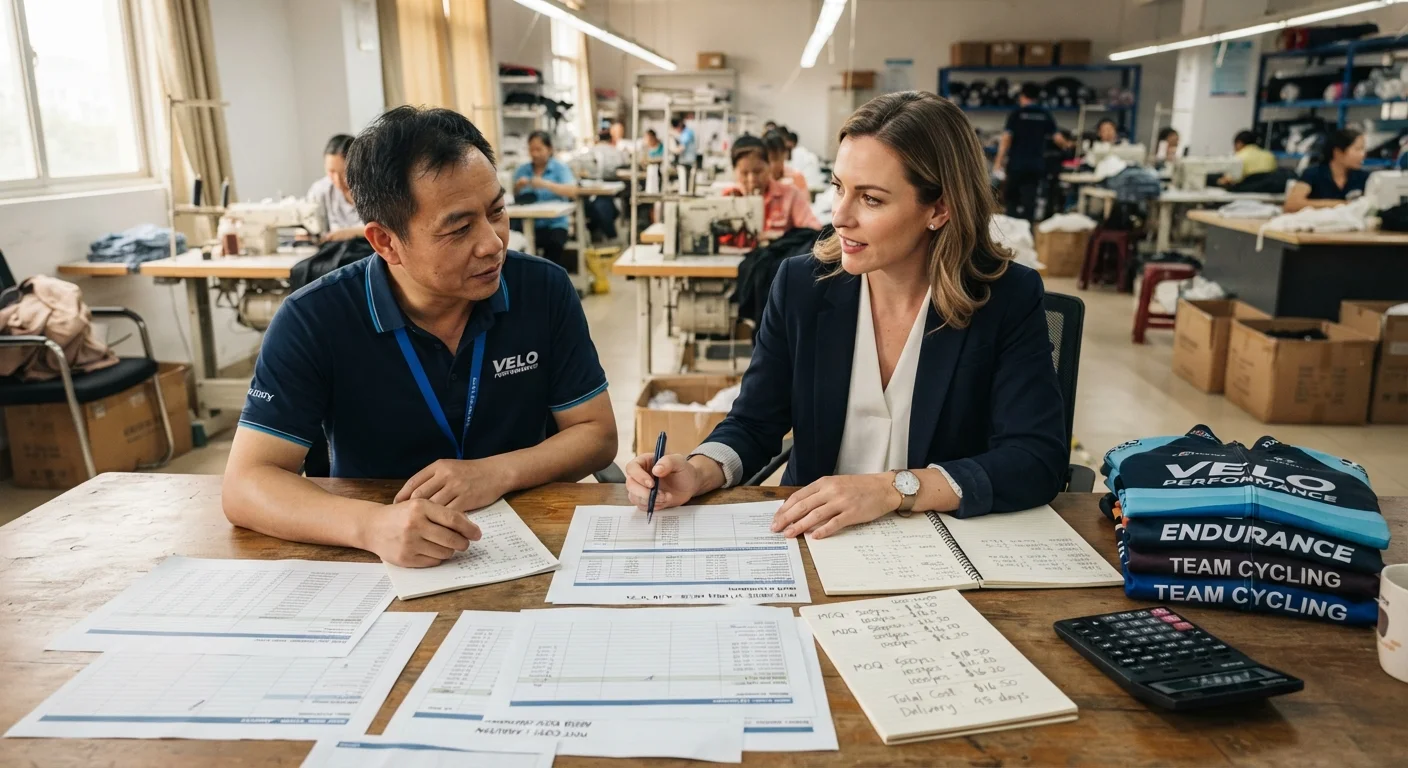
For a 15-person club team, organization pays off. Send the template out with clear instructions: “Type your name exactly as you want it printed. Double-check your number against the master list, no duplicates.” Collect responses through a shared Google Sheet or form submission rather than scattered emails or texts. It’s far easier to spot a repeated number or missing size when everyone’s data sits in one place.
Add a Status column too – active, confirmed, pending – so you know at a glance who’s still missing information before you submit anything for a bulk cycling apparel order. Keep a Notes field open for anything unusual: a rider who goes by a nickname, a late roster addition, or a number they requested.
Once every row is filled and double-checked, this sheet becomes the single source of truth you’ll hand to your supplier: no separate emails, no verbal confirmations, no room for “I thought you meant something else.”
Step 3: Submit the Artwork File and Roster Together — File Requirements
Names end up attached to the wrong numbers when the artwork goes in one email and the roster in another an hour later. Send both in the same submission so your supplier doesn't have to match anything by guesswork.
How to Format the Roster File
Excel, Word, or a plain text file all work fine, as long as names, jersey numbers, and team name each sit in their own column. If your supplier's checkout process has a roster upload field, attach it there before you finalize the order. Otherwise, send the roster right after checkout, not "sometime this week." A full name list with contact details attached separates a smooth production run from a support ticket asking you to resend information.
Artwork File Requirements Your Supplier Will Expect
For the custom cycling jersey artwork file itself, stick to formats your printer can open: PDF, EPS, AI, JPG, or TIFF . Resolution matters more than most captains realize. Aim for 300 dpi on logos and photos. If you're stuck with a raster image, 150 dpi at final print size is the bare minimum, but don't push it.
A few technical details trip people up every season:
Convert fonts to outlines in vector files, or include the font file separately
Package all links and embed images before sending
Keep JPGs in sRGB , and use CMYK if your supplier requests print-ready files
Name files sequentially (01, 02, 03) if you're sending one file per rider
Stay under 7MB for direct upload; anything larger goes through an upload link instead
One base artwork file with roster variables applied individually is efficient. But when in doubt, send one high-resolution file per name.
Step 4: The Proofing Stage — 3 Checks to Avoid Costly Mistakes
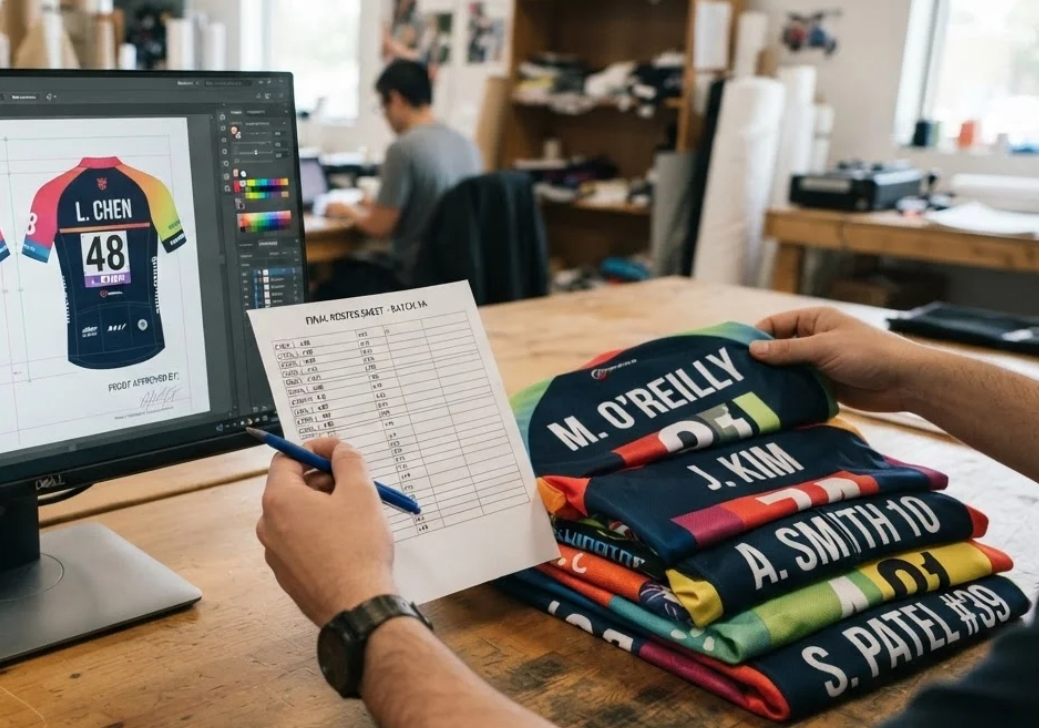
A digital proof lands in your inbox. It looks fine at a glance, but that’s the moment 15 jerseys’ worth of mistakes slip through unnoticed. Teams rush through this step, yet it’s the one that saves you from a reprint bill.
Check 1: Copy and Data Accuracy
Every name, every number, every character. Print your roster template next to the proof and read them side by side, out loud if you have to. Look for:
Names match what riders submitted (spelling, capitalization, nicknames)
No duplicate race numbers across the full set
Sponsor logos, team name, and any web links or QR codes print correctly
No missing or broken type where a font failed to embed
One typo here doesn’t mean a redo of one jersey. With sublimation printing, it often means catching it before the whole batch runs.
Check 2: Layout and Placement
This is about where things sit on the jersey. Confirm:
Names and numbers align in the same position across all 15 jerseys, not drifting higher or lower rider to rider
Sleeve and side-panel graphics aren’t flipped or upside down after the template wraps around the garment shape
Bleed areas extend far enough that no white edges show up after cutting and sewing
Sponsor placement and team logo sit in the same spot, jersey to jersey
A layout error usually stays invisible on a flat digital proof. It shows up the moment fabric gets cut.
Check 3: Production and Print Specs
Under sublimation heat and pressure, the template design either holds up or fails. Verify:
Color consistency across the full order, with no jersey printing lighter or off-tone from the next
Image and logo resolution at 300 PPI minimum — anything lower prints blurry
Fabric panels and cut lines match your supplier’s dieline, not a generic template
Fonts embedded or converted to outlines, so text doesn’t reflow or substitute at print time
Sign-Off Before Production
Once these three checks clear, get a signed proof approval on file from your captain and one other reviewer. That signature is your record if anything ships wrong. Skip it, and there’s no paper trail when a name comes back misspelled on jersey nine.
Step 5: Common Mistakes in Bulk Custom Orders (and How to Avoid Them)
Reprints cost money. They also cost trust with your riders when jersey number nine still says "Sara" instead of "Sarah" three days before race day. Most of these mistakes trace back to skipped steps.
Ordering the Exact Headcount, No Extras
Fifteen riders do not mean fifteen jerseys. Order 10–15% extra beyond your roster count. That buffer covers a defective print, a size swap at the last minute, or a new rider who joins after the cutoff. Skip this, and you're placing a rush reorder at a premium.
Underestimating Lead Time
A cycling jersey template design with individual name printing is not a same-week turnaround. Budget 2–3 weeks minimum for a straightforward personalized cycling jersey order. Complex sublimation printing runs with multiple sizes and race numbers can stretch to 3–8 weeks . Order late, and some team cycling apparel suppliers tack on rush fees between 30–50% of the order value.
Guessing at Size Distribution
Do not eyeball how many Mediums versus Larges you need. Pull actual measurements from your roster sheet against the cycling jersey size chart before you submit. A guessed size mix is one of the most common reasons for post-delivery swap requests.
Ignoring Minimum Order Quantity Compatibility
Confirm the minimum order quantity cycling jersey policy covers both this order and next season's reorder. A supplier that accepts 15 pieces now but requires 30 for a reorder leaves your club stuck when three new riders join in spring.
Skipping Written Tolerances
Lock size, color, and fabric weight tolerances in writing before production starts. Vague expectations like "close enough" lead to disputes nobody can resolve after the jerseys ship.
Not Checking the Invoice Line by Line
Before final payment, review carton marks, packaging, hangtags, and any reprint clause. Hidden fees show up here more often than in the quote.
Step 6: Final Checklist Before You Click "Confirm Order"
One click submits the order. One typo in your PO number, and support tickets eat your week. Before that click, run through this final pass on the paperwork behind it.
Match the Documents First
Pull up the quotation, purchase order, and pro forma invoice side by side. They need to say the same thing:
1.Buyer and supplier legal names, addresses, and contact info match on every document
2.Quote number, PO number, order date, and confirmation date line up across all three
3.Line items check out one by one: jersey style, quantity, size breakdown, cycling jersey unit price
4.Pricing math adds up: unit cost, any discount, line totals, tax, freight, and the final total
A mismatch here rarely gets caught until the invoice lands weeks later, usually with a higher number attached.
Confirm the Terms That Cost Money If Wrong
1.Payment terms : method, currency, amount charged, due date
2.Delivery details : ship-to address, requested date, shipping method, Incoterm (FOB or otherwise)
3.Spec requirements : fabric grade, sublimation printing specs, packaging instructions
4.Lead time buffer : for a rush personalized cycling jersey order, confirm any rush premium in writing before release
Lock the Sign-Off
Get written approval from your captain, save the final order confirmation, and keep support contacts on file along with the cancellation/change process. That single saved copy is what protects your team cycling apparel supplier relationship if a dispute comes up later.
Conclusion
That 15-rider club order we walked through works the same for 8 teammates or 80. Use a clean roster template, a custom cycling jersey supplier who supports individual name-and-number personalization, and a proofing stage where you catch mistakes before they get printed into fabric permanently.
Sublimation printing is unforgiving. Once that file goes to press, "Mike" can't turn into "Michael" and rider #7 can't be #17. Your roster spreadsheet and final checklist are the cheapest insurance against a costly reprint.
Before your next team jersey order, pull up that copy-paste template, ask your supplier the three must-ask questions, and run every proof through the checklist one more time. Do that, and the jerseys arrive right the first time — every name spelled correctly, every number where it belongs.