Riding Fit & Pattern Development: How One Riding Position Becomes One Pattern
A pattern is flat. A rider is not. Riding fit development is the job of deciding where the movement room goes — and being honest about what each of those decisions costs when the rider is standing still.
What Gets Decided Here, and What Gets Decided Somewhere Else
Stated first, because fit is the subject every other page on this site borrows from — and borrowing works only if everyone knows where the original sits.
Because the two get confused constantly. Sampling is how a sample gets made and approved. This page is what the pattern was trying to achieve before anything was cut.
One is a procedure; the other is a judgment, and the judgment is what a sample is judged against.
This Page Is Where the Scenario Pages Get Their Answers
Road, gravel, mountain, commuter and triathlon each state a fit conclusion in a line or two. This is the page that shows the working.
If a conclusion over there ever contradicts the reasoning here, the reasoning here is the one that is wrong and gets fixed.
Two shapes, one garment
The Pattern Is Flat, the Rider Is Folded, and the Photograph Is Taken Standing Up
Three things pull against each other on every kit we develop. Two of them are physical. The third one is the reason buyers get surprised.
On the bike
Standing
On the bike a rider is folded forward at the hip, arms reaching, back rounded, head lifted to see the road. Off the bike the same rider is upright with their arms at their sides. One garment, two shapes, and a pattern can only be optimised for one of them.
A flat plane forced into a curve. Cloth answers with folds, and the folds land somewhere whether anyone chose the place or not.
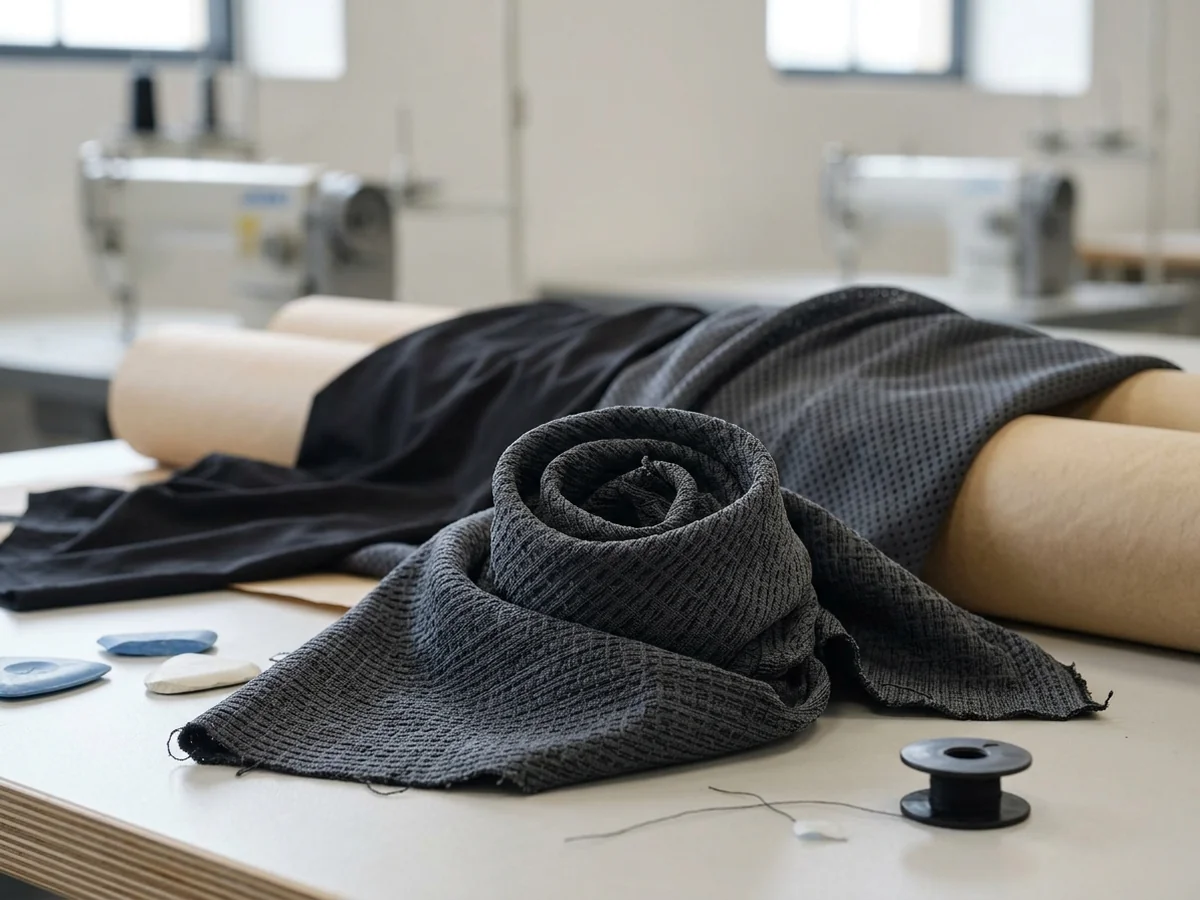
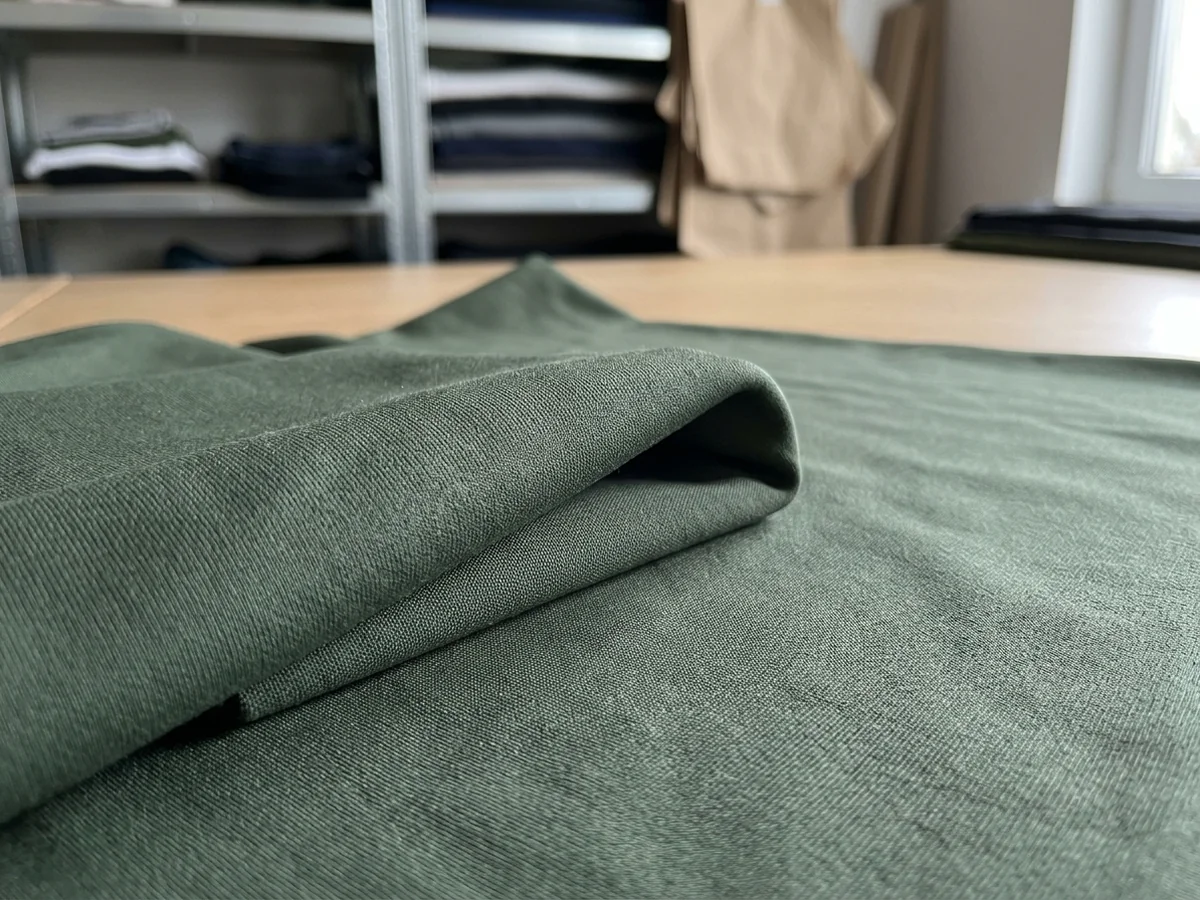
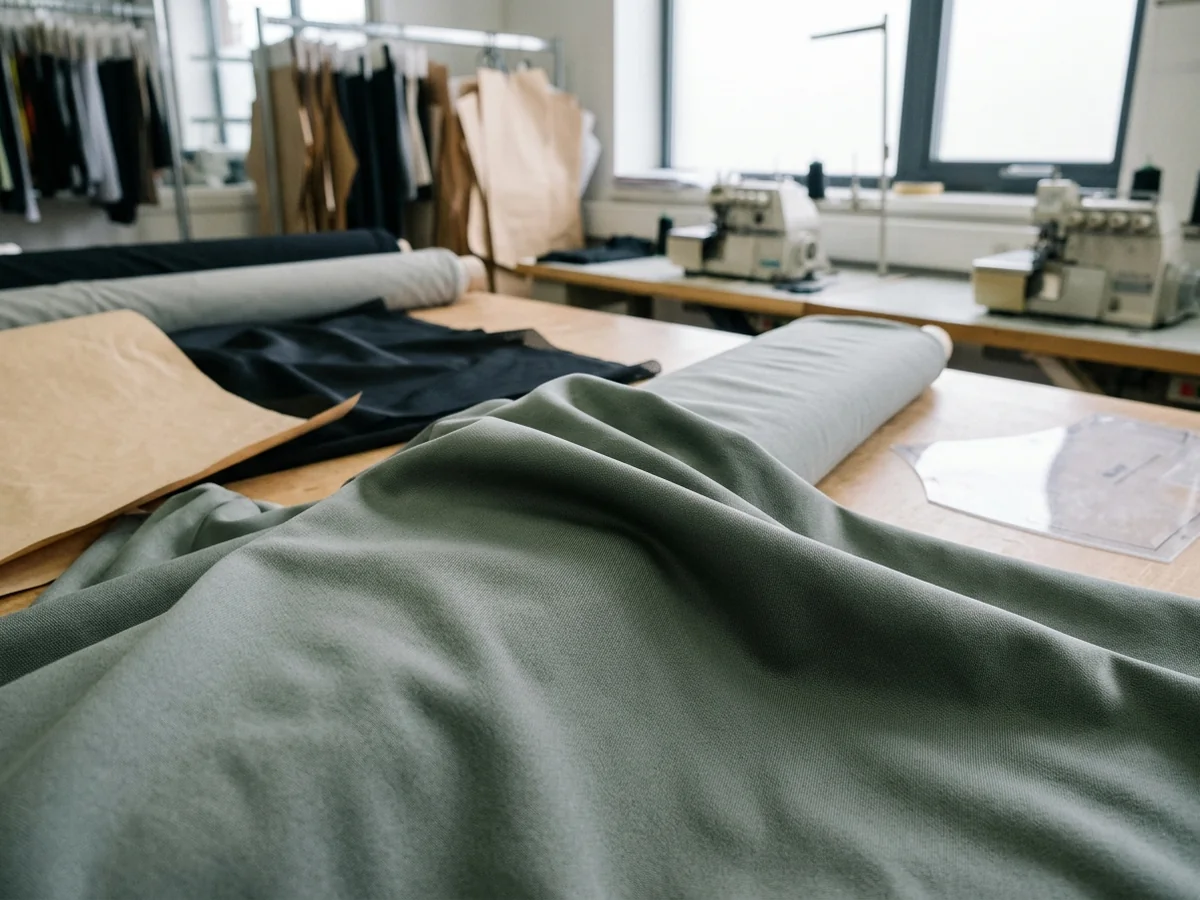
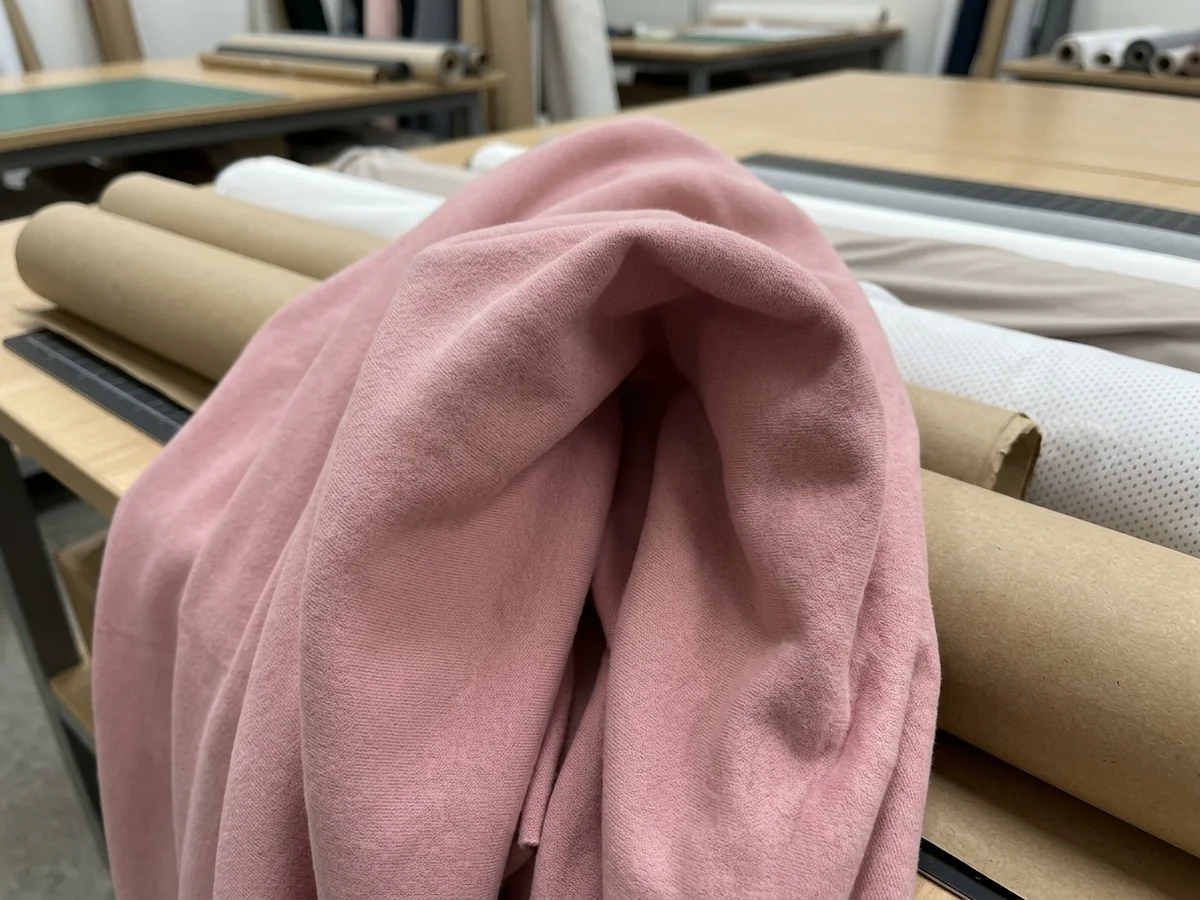
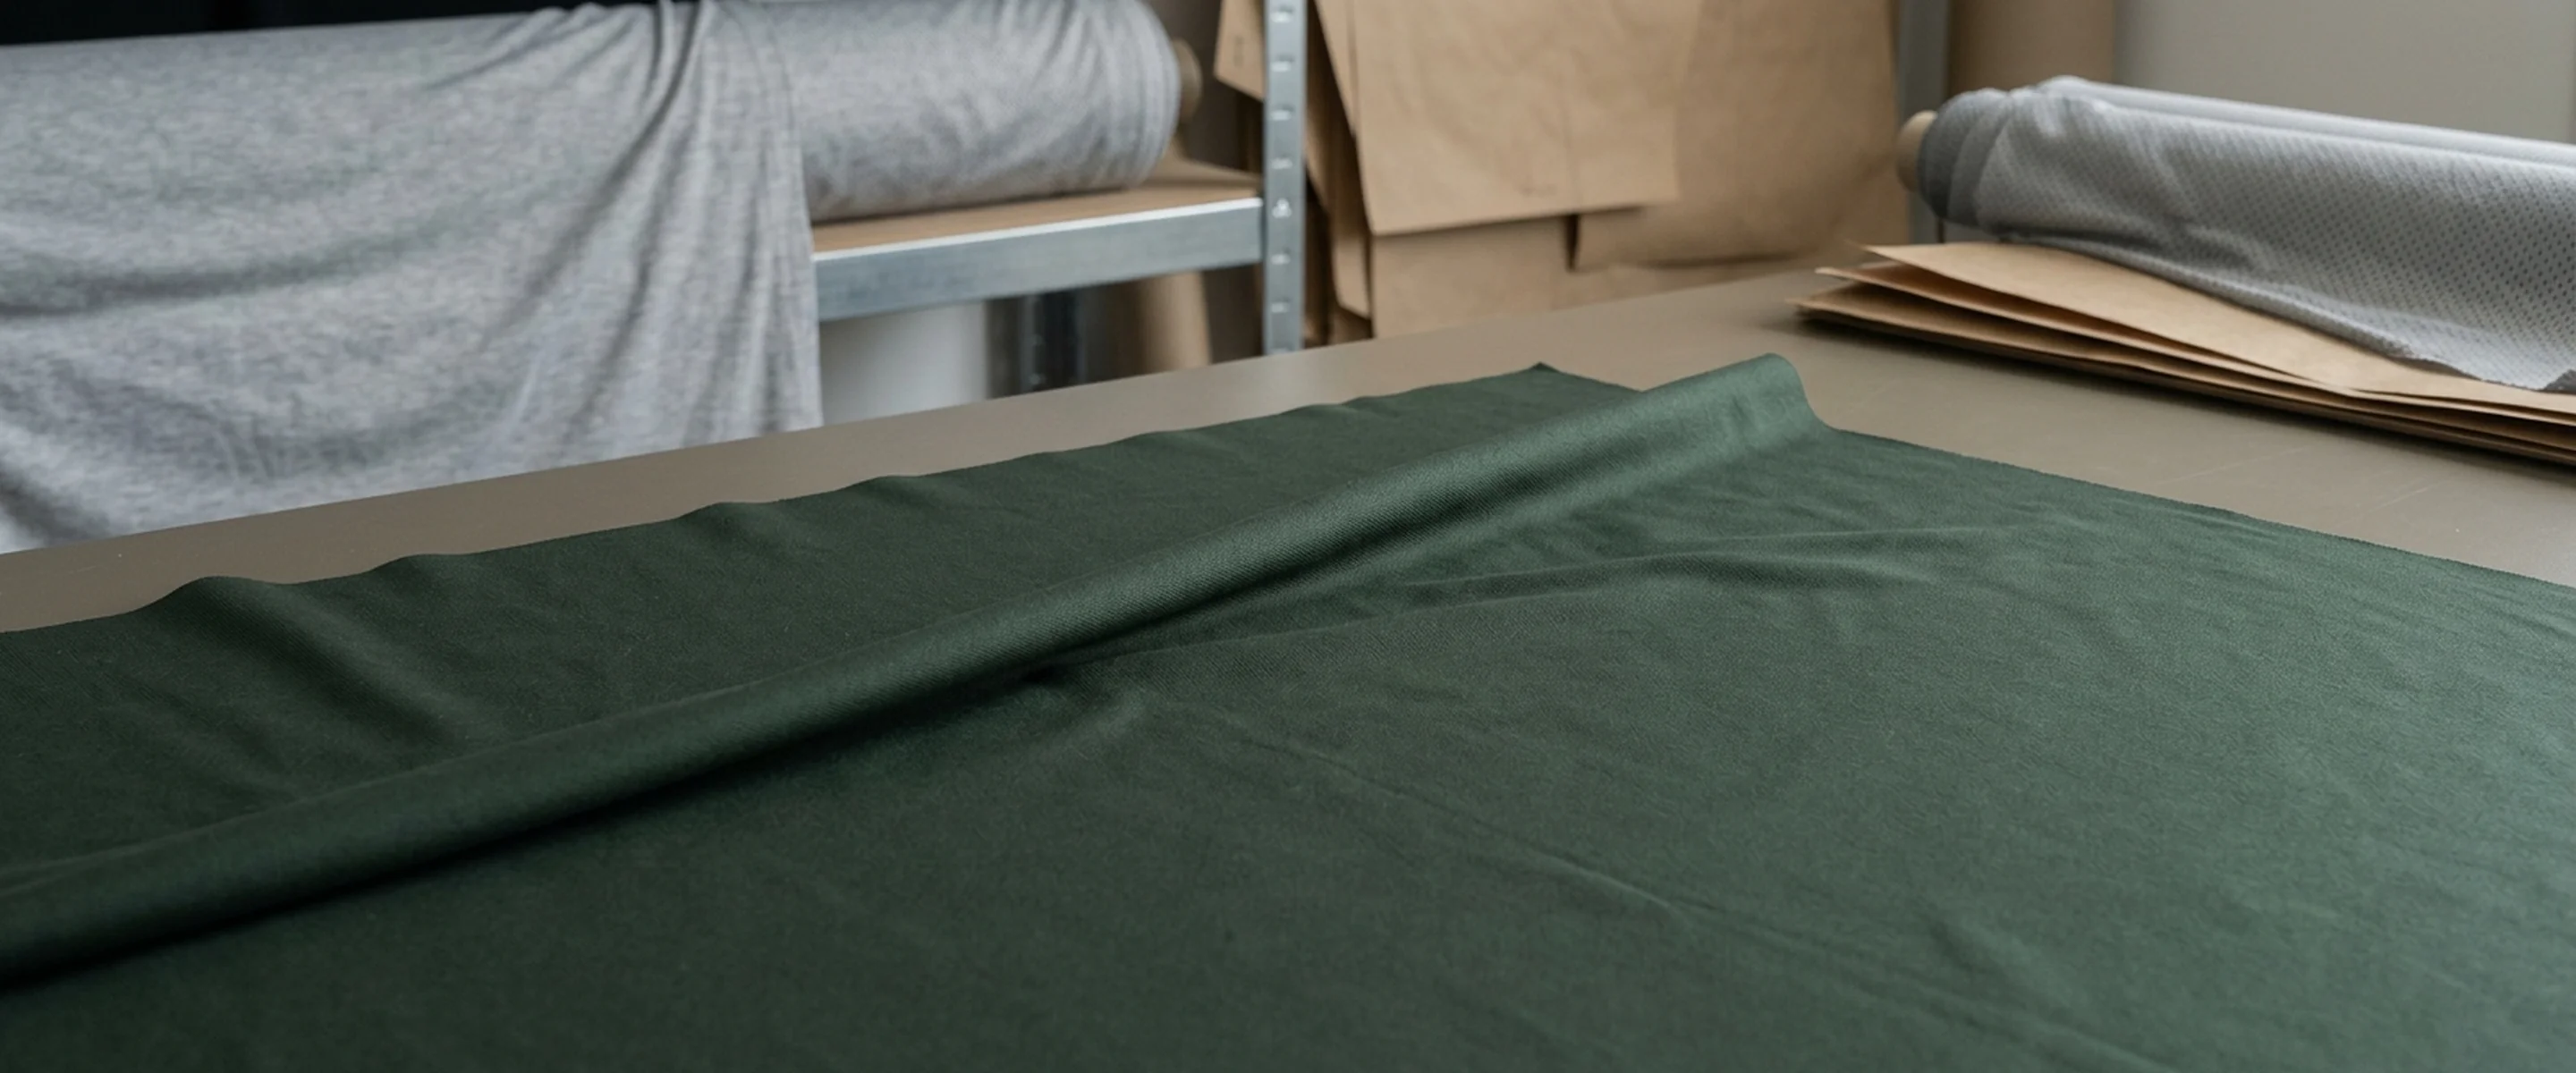
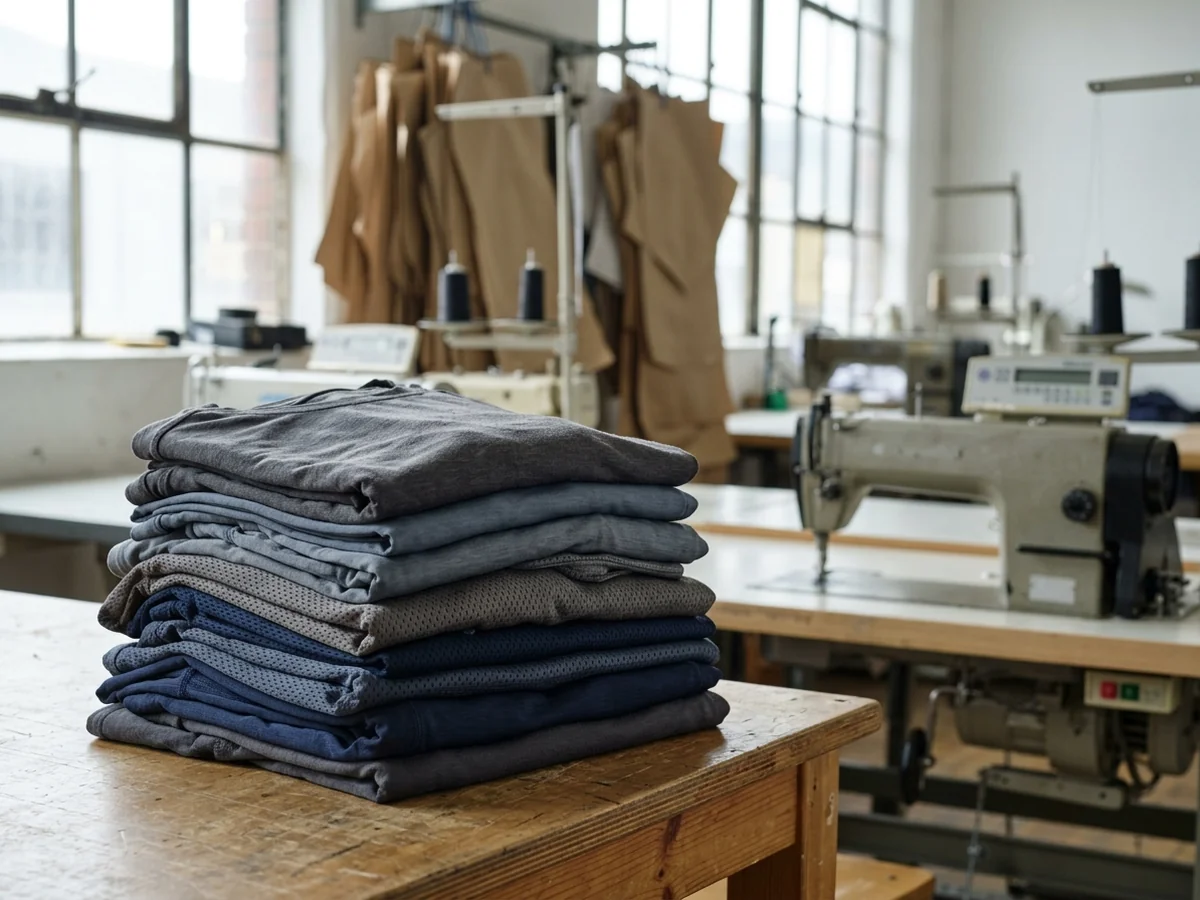
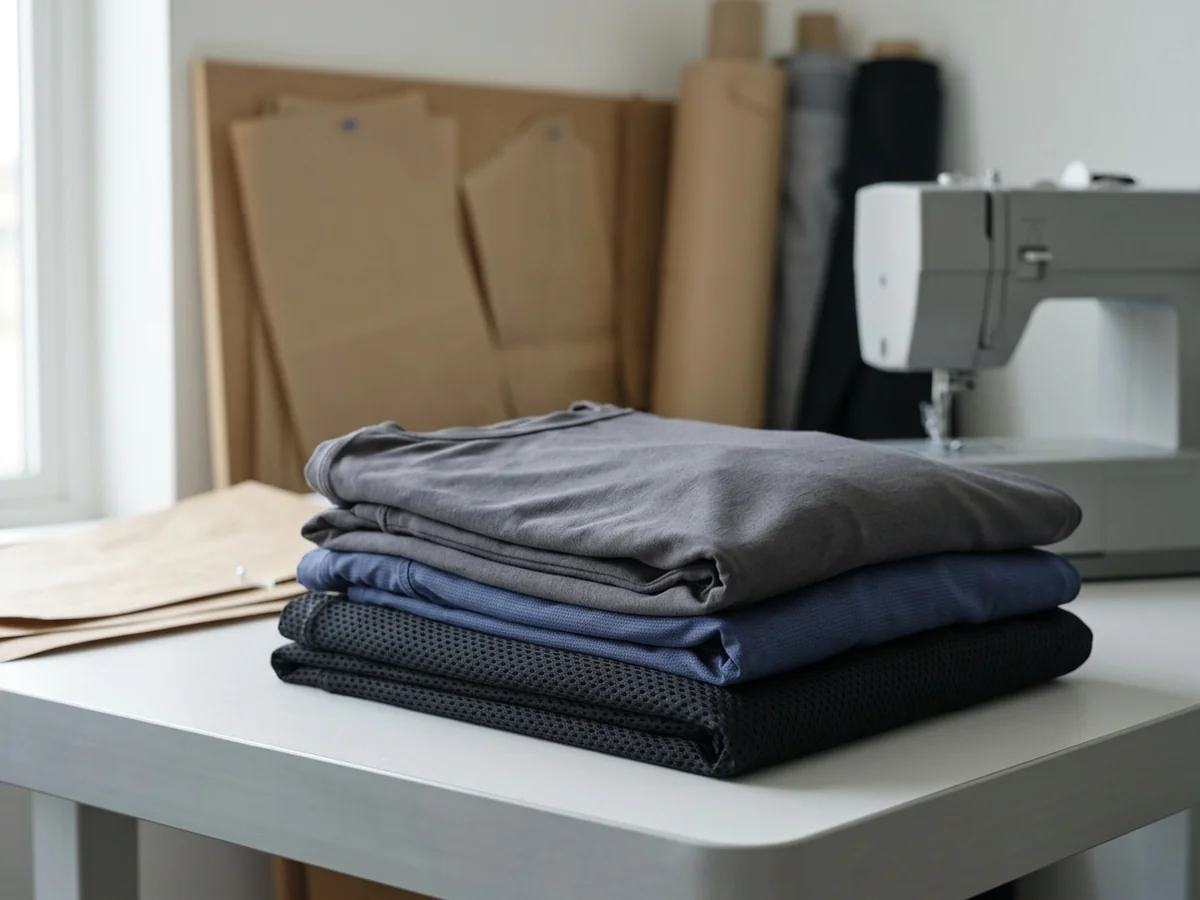
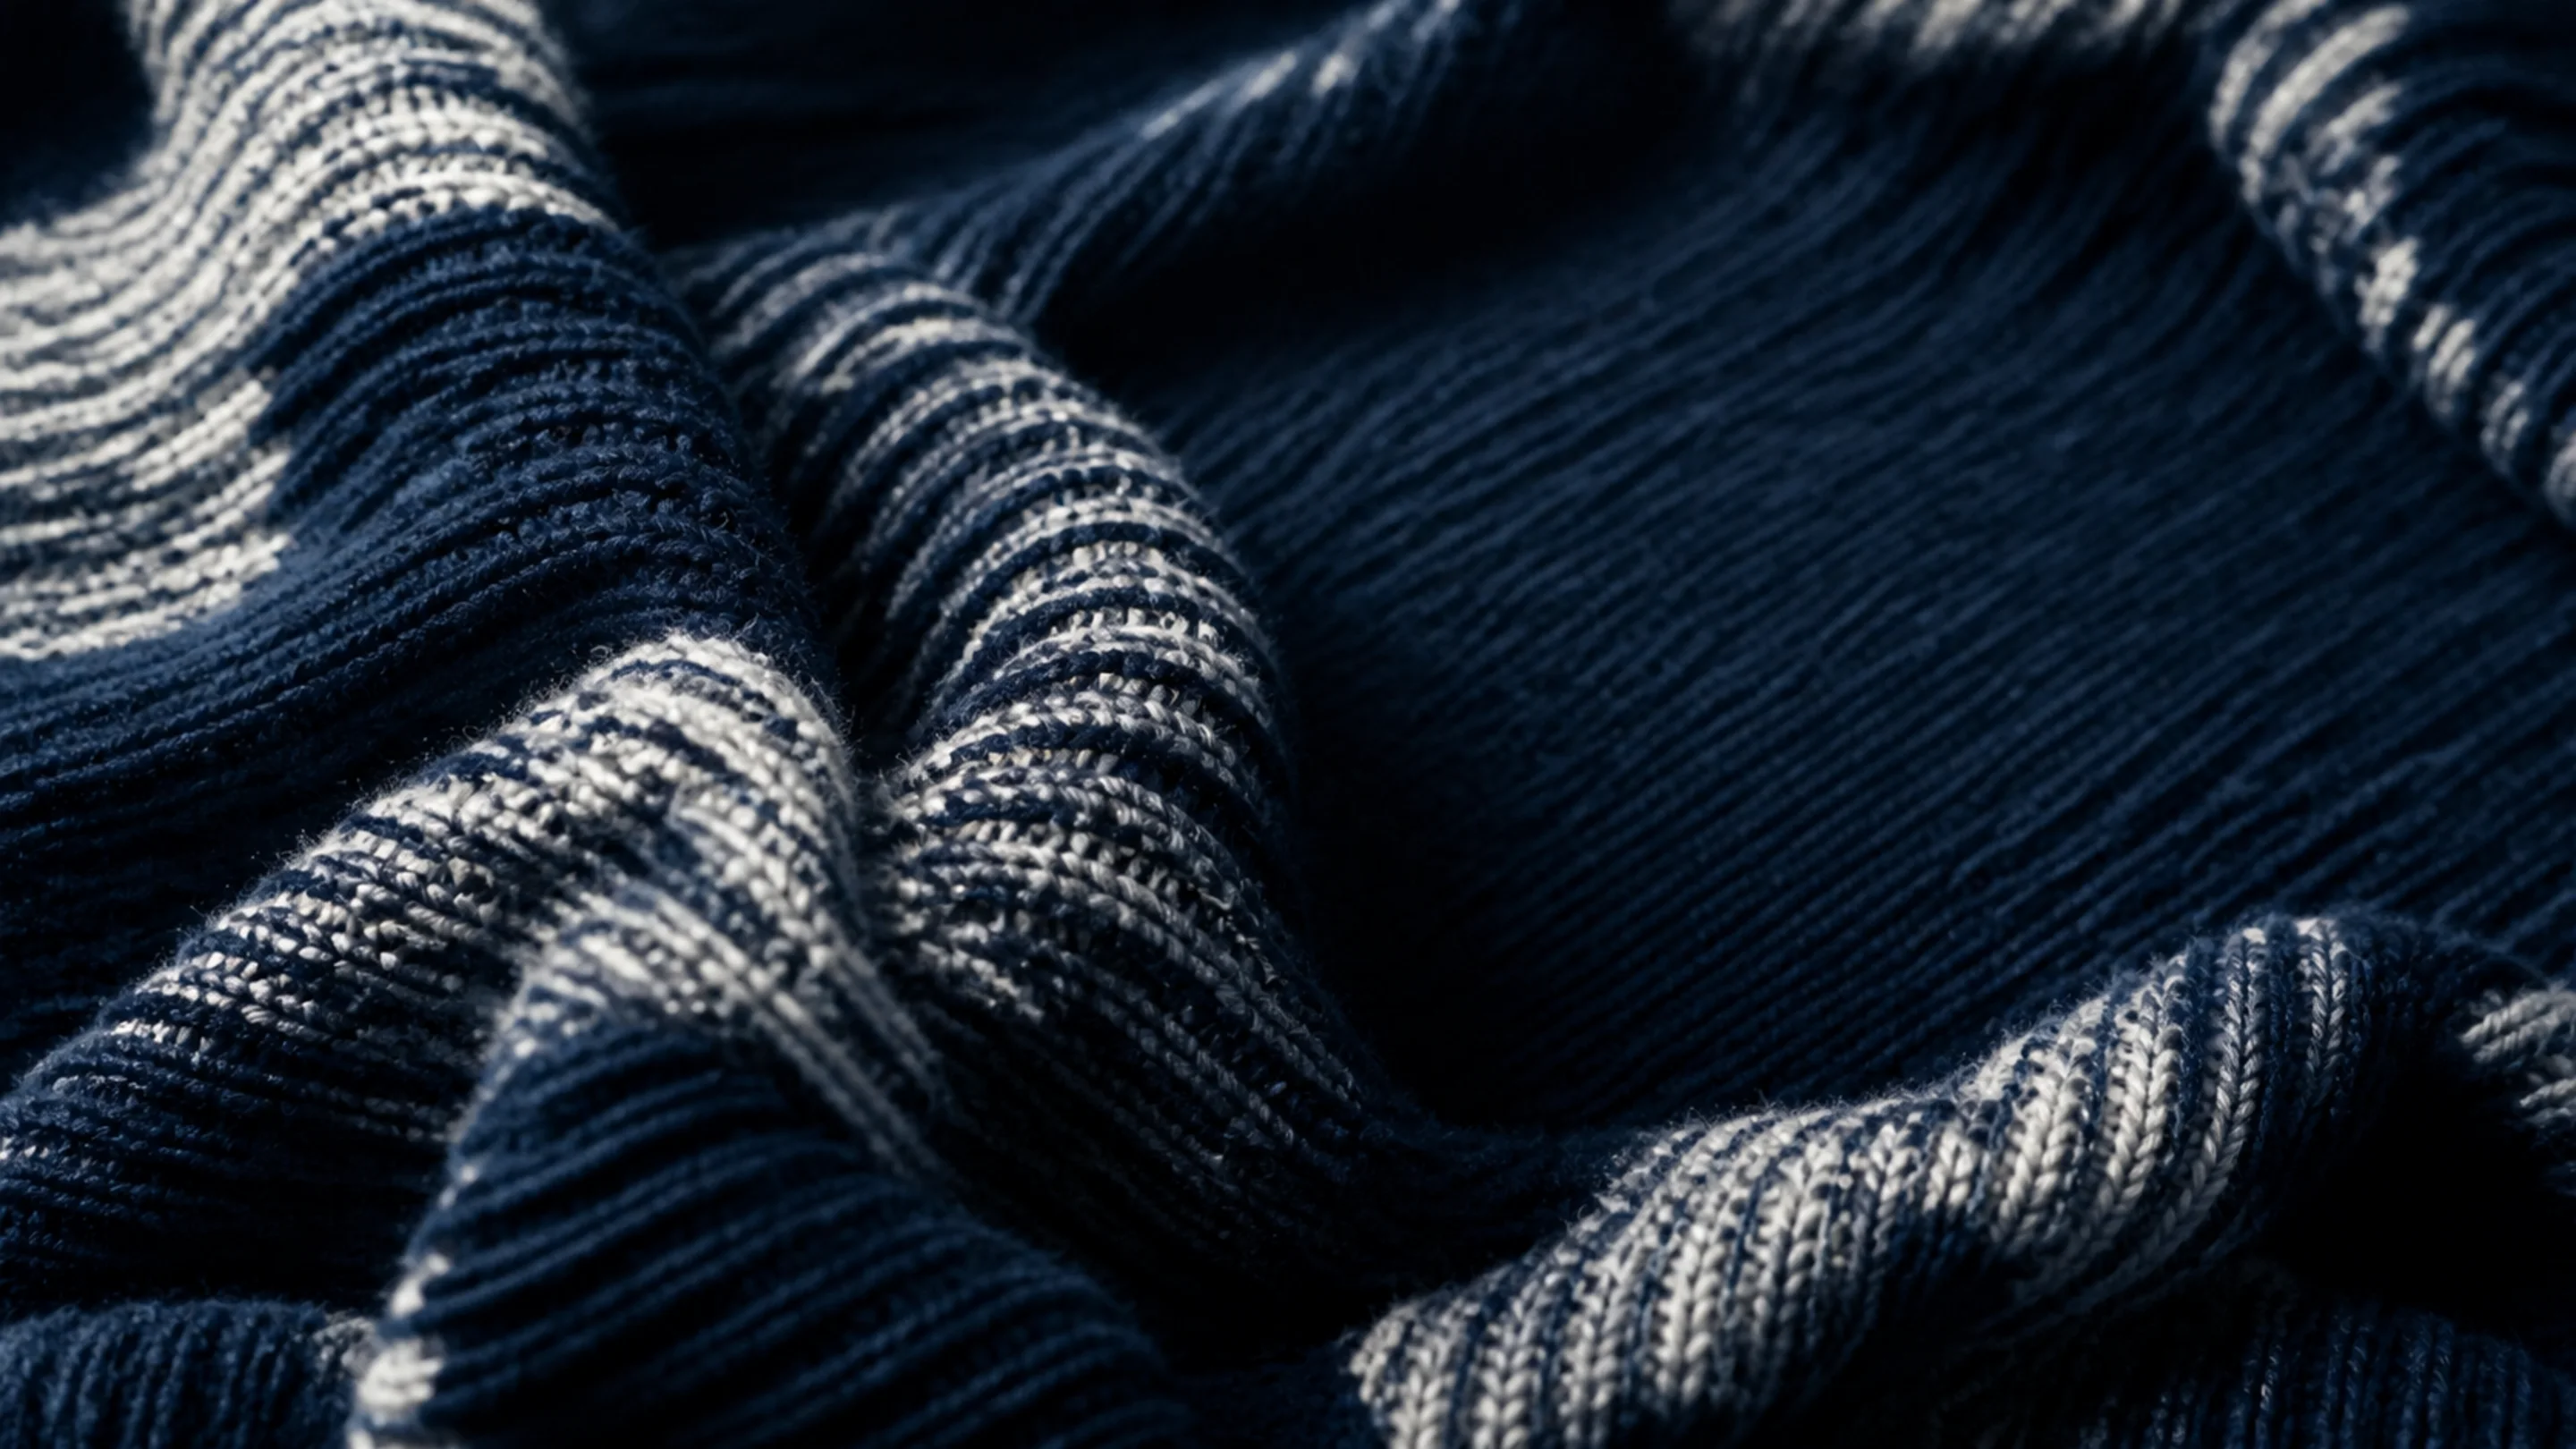
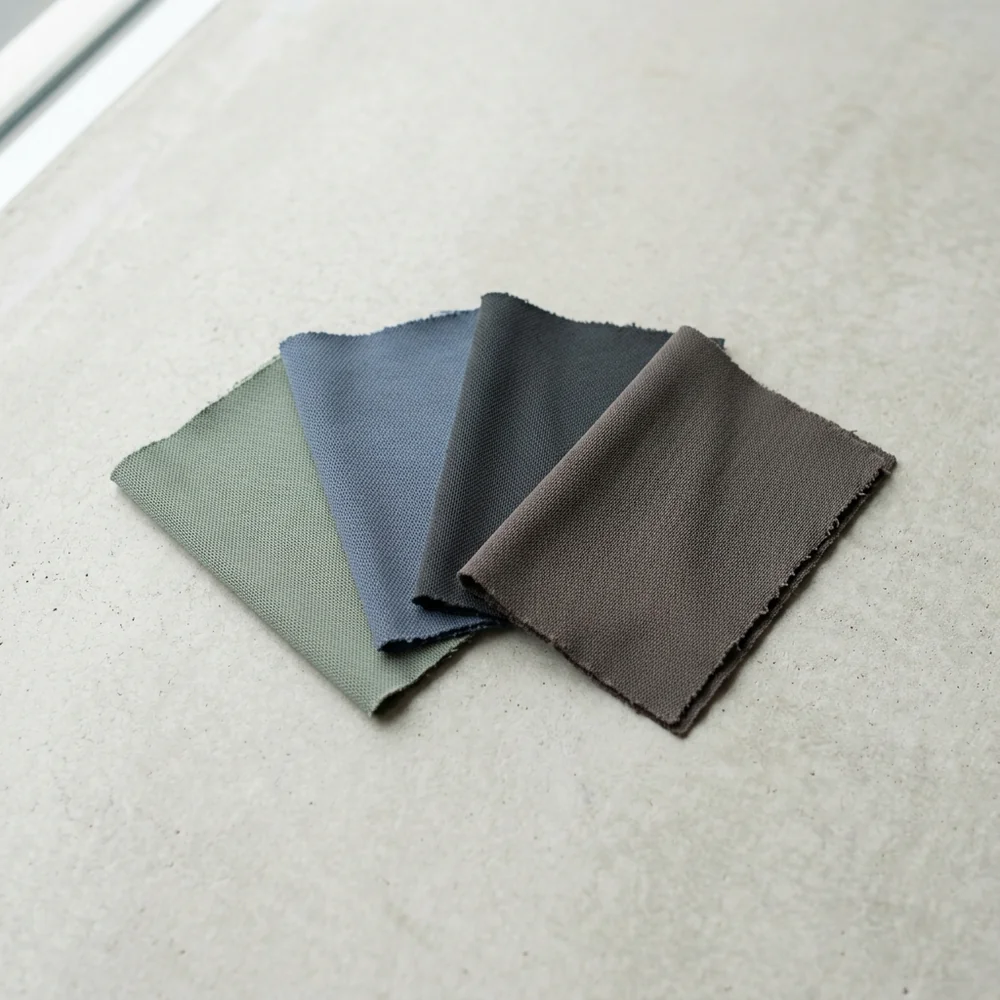
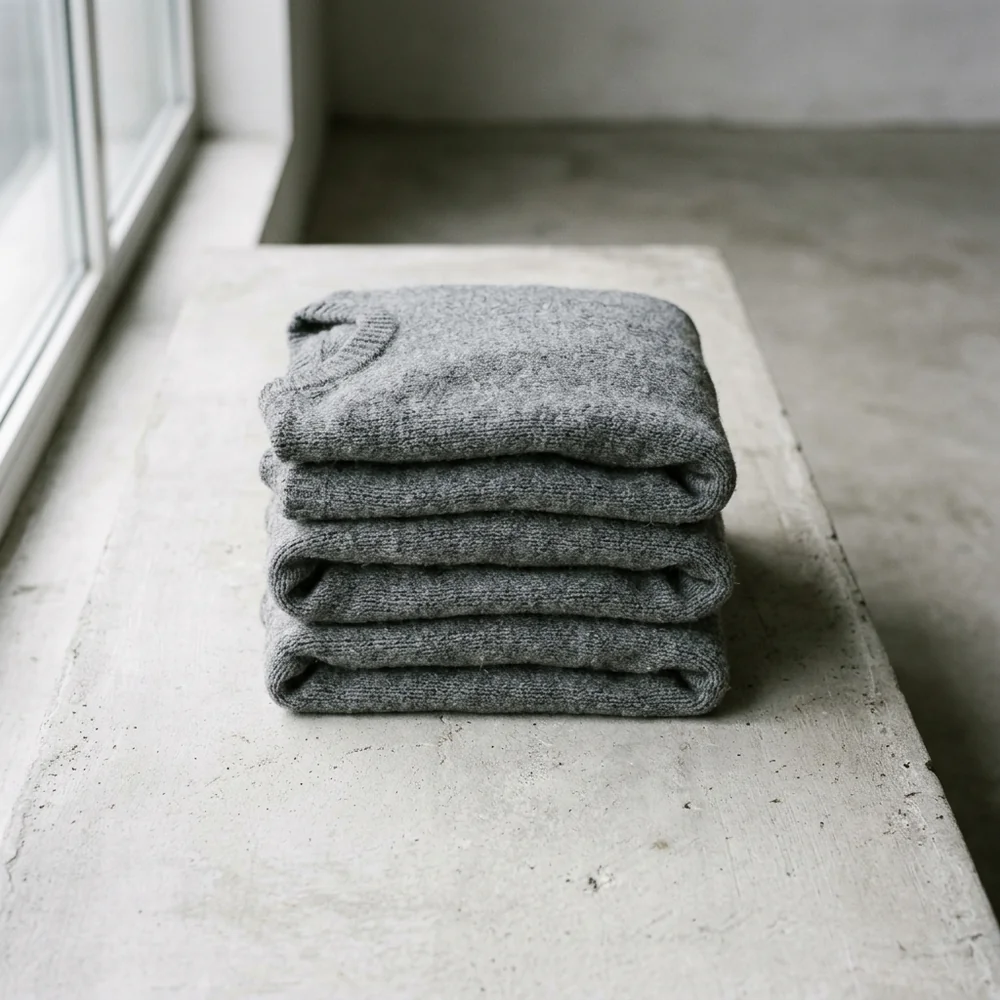
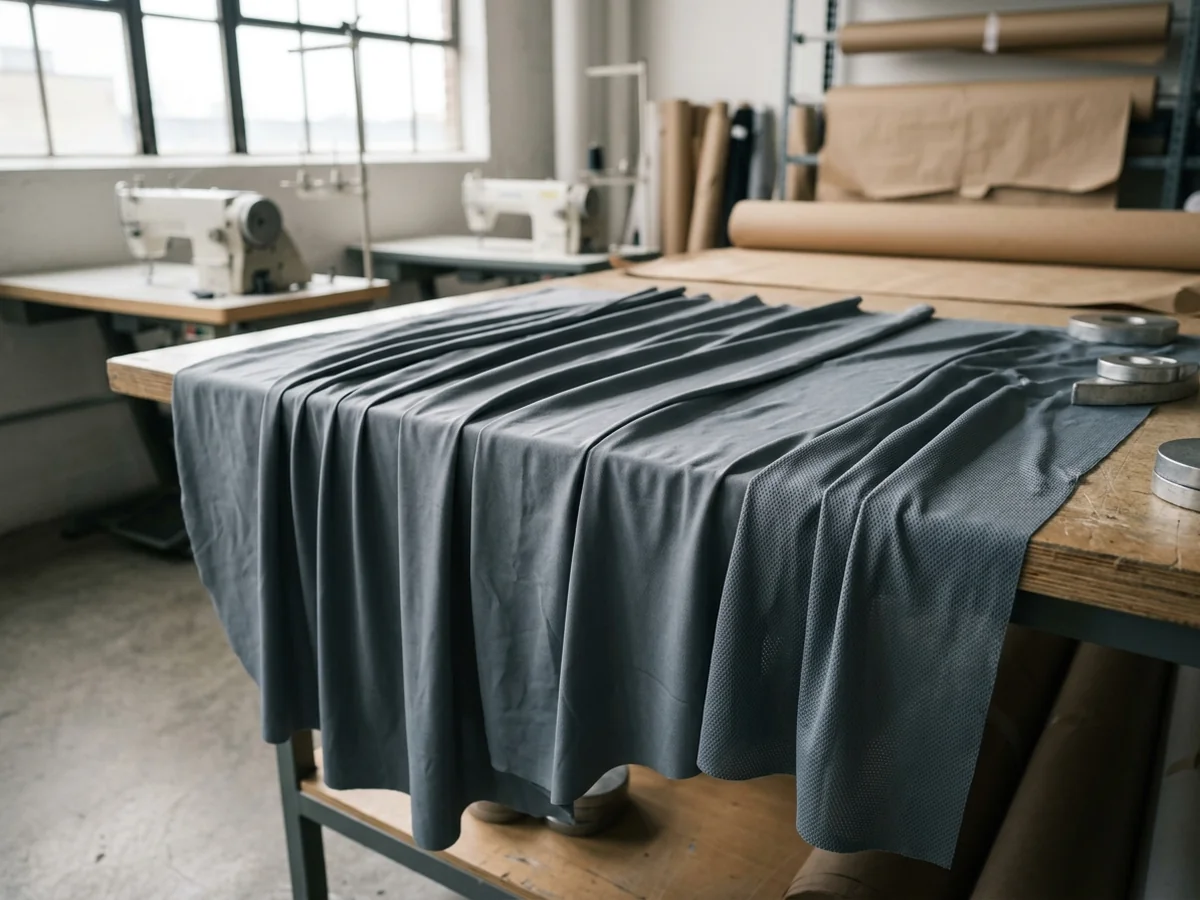
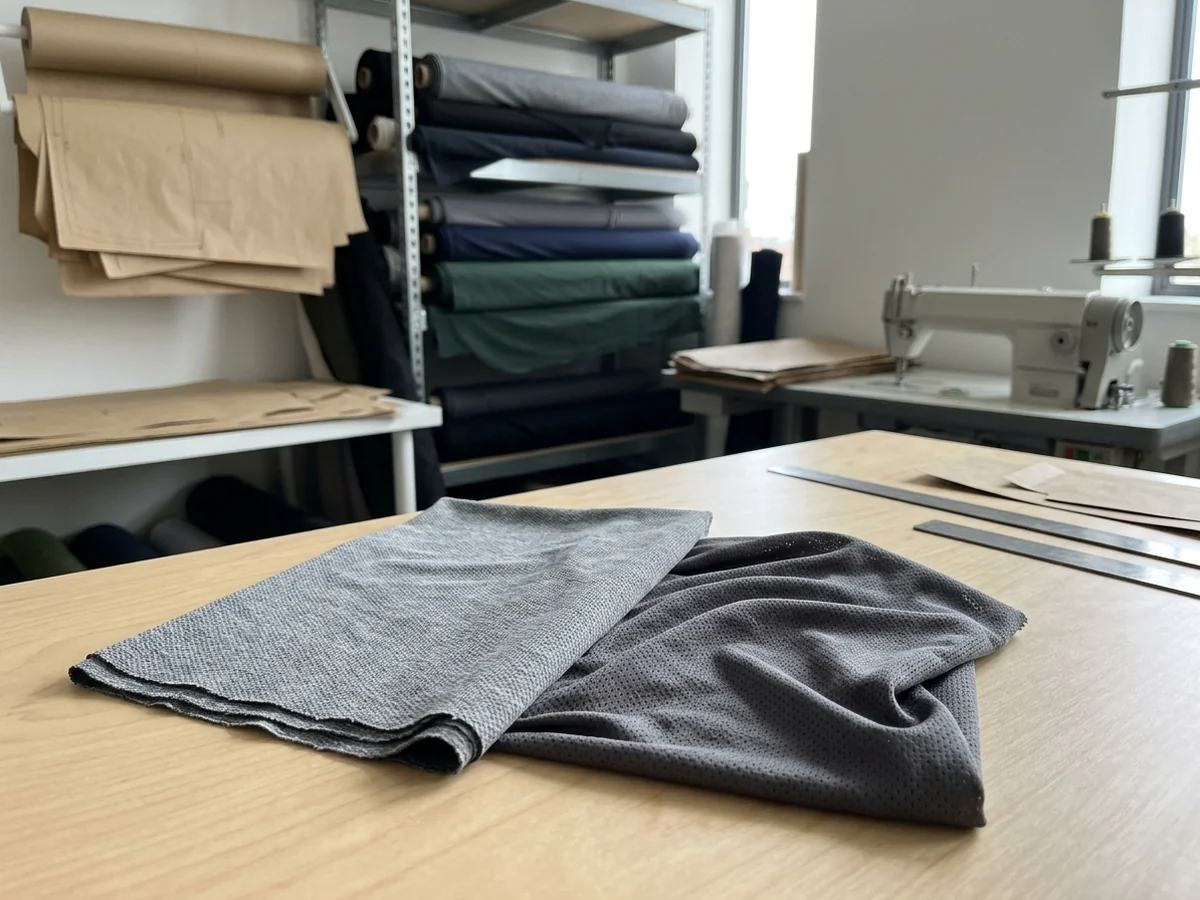
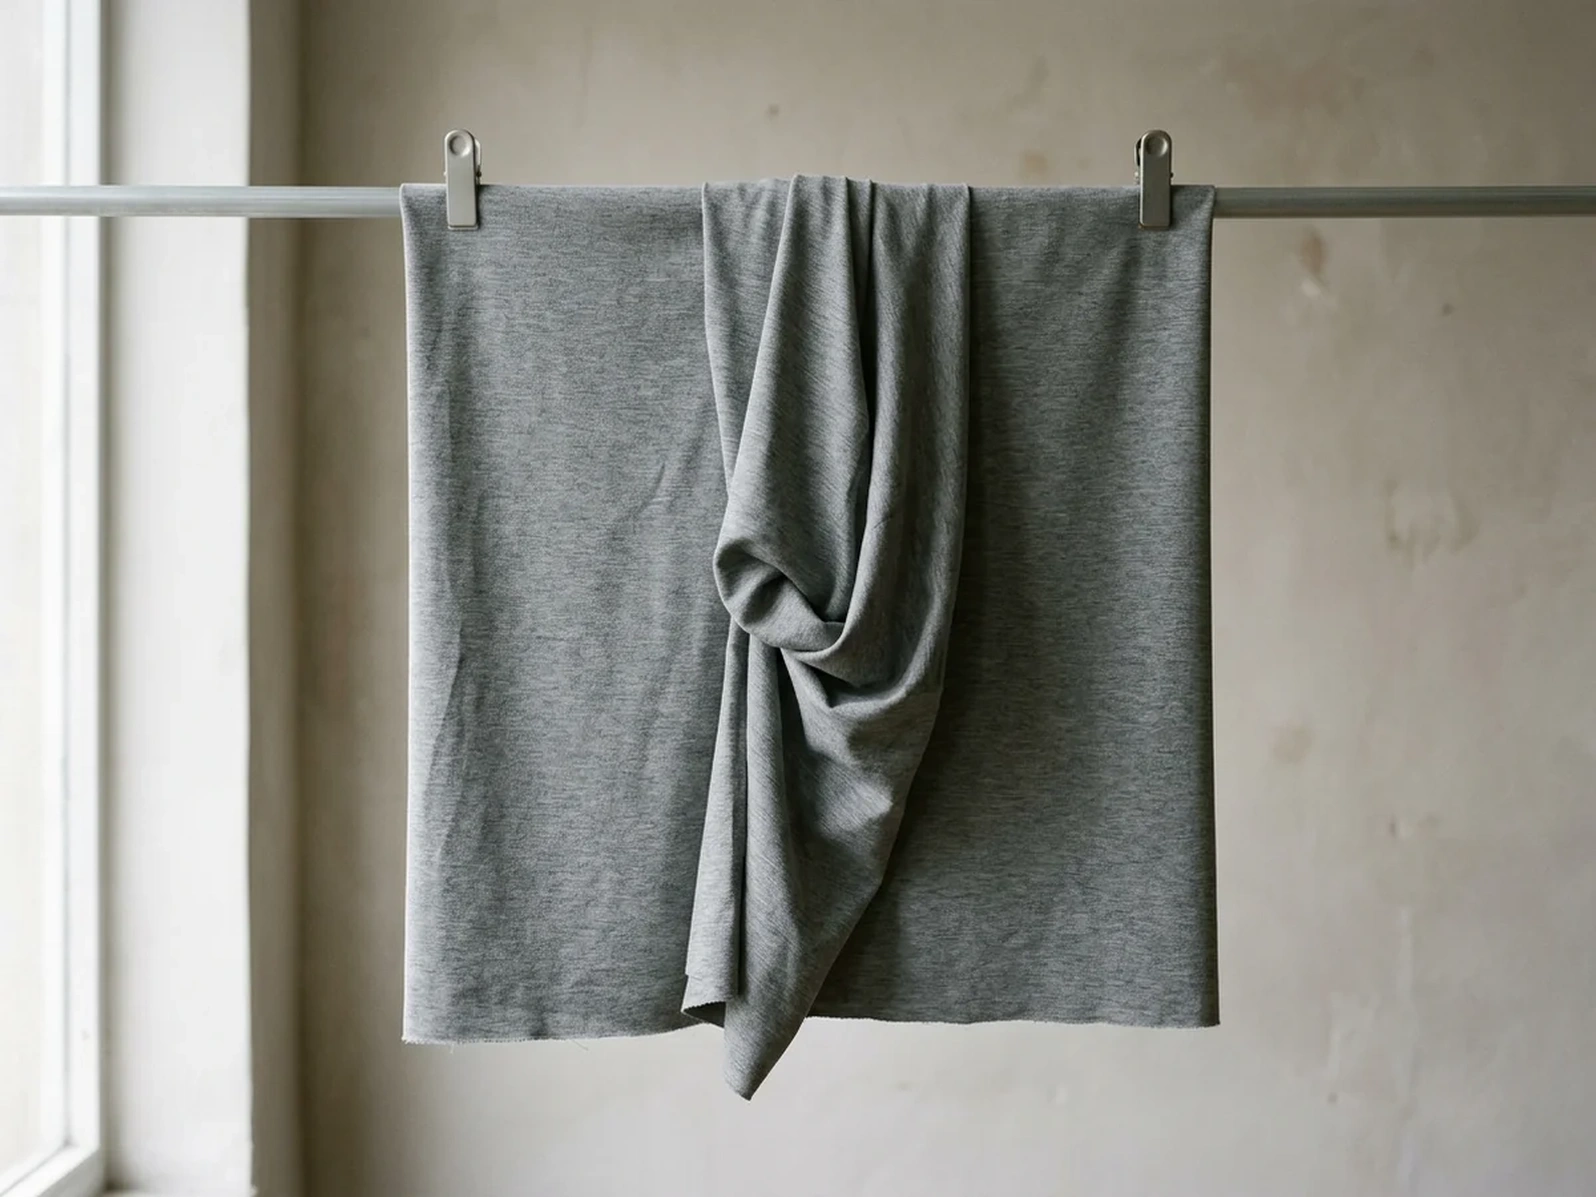
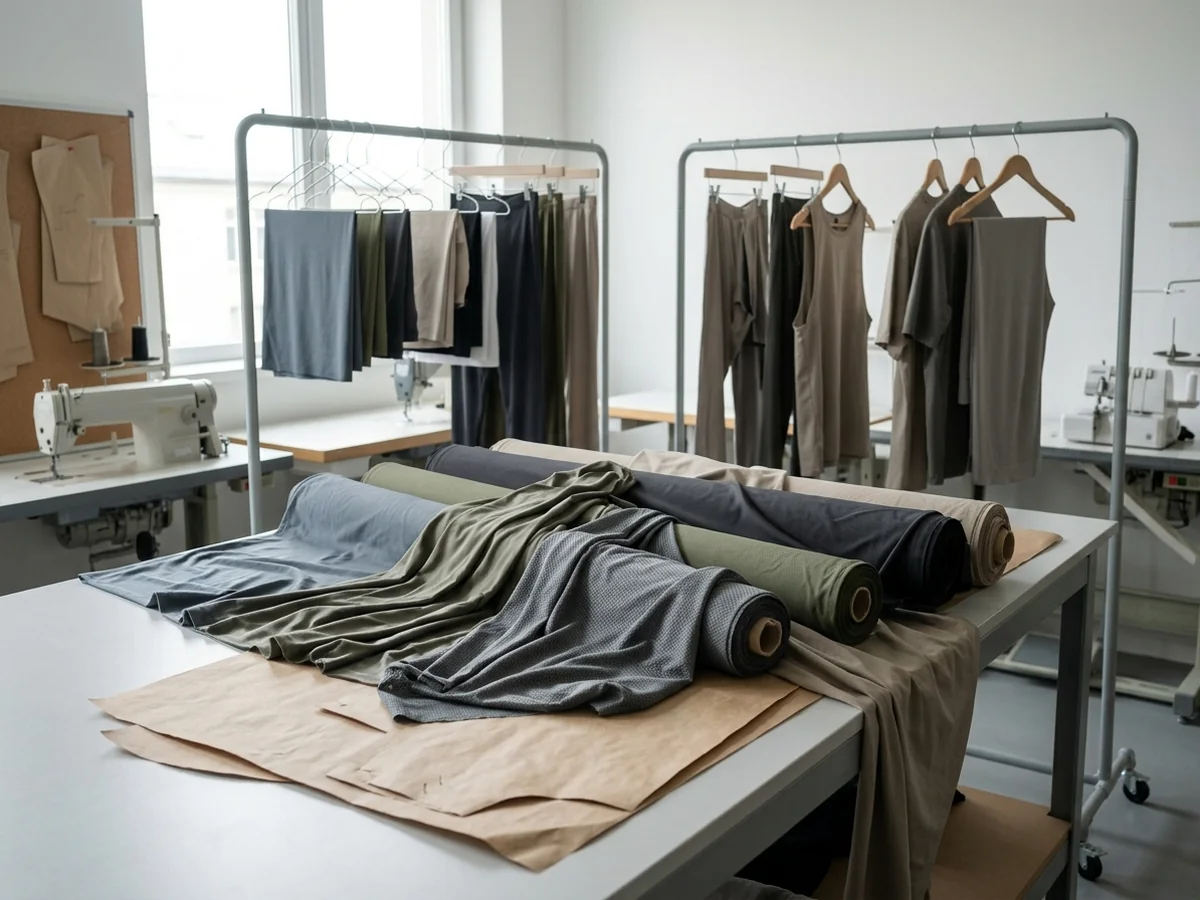
Two states of one knit family, crisp and soft. How much of the movement the cloth absorbs decides how much the pattern still has to carry.
The Fear That Brings Buyers Here
Three, and they are specific.
That what arrives is a stock block with your artwork on it.The buyer suspects it and often cannot name what would prove otherwise.
That the team photograph goes wrong.One rider looks like a professional, the next looks like a tent, and it is the same garment in both cases.
That fit variation becomes returns— handled by whoever sold the kit, which is usually the person reading this.
Why the Standing Photograph Misleads
It is the picture the buyer sees, and almost nothing on this page is visible in it. A jersey cut for the position carries surplus at the back that disappears only once the rider reaches for the bar.
Judged standing, a correct pattern looks slightly wrong. Judged on the bike, the one that photographs perfectly pulls.
Five places, and five prices
Five Places Get Movement Allowance, and Every One of Them Costs You Something Standing Still
This is the section the rest of the page exists to support. Read the third column first — it is the one other factories leave out, and it is the one that explains the photograph.
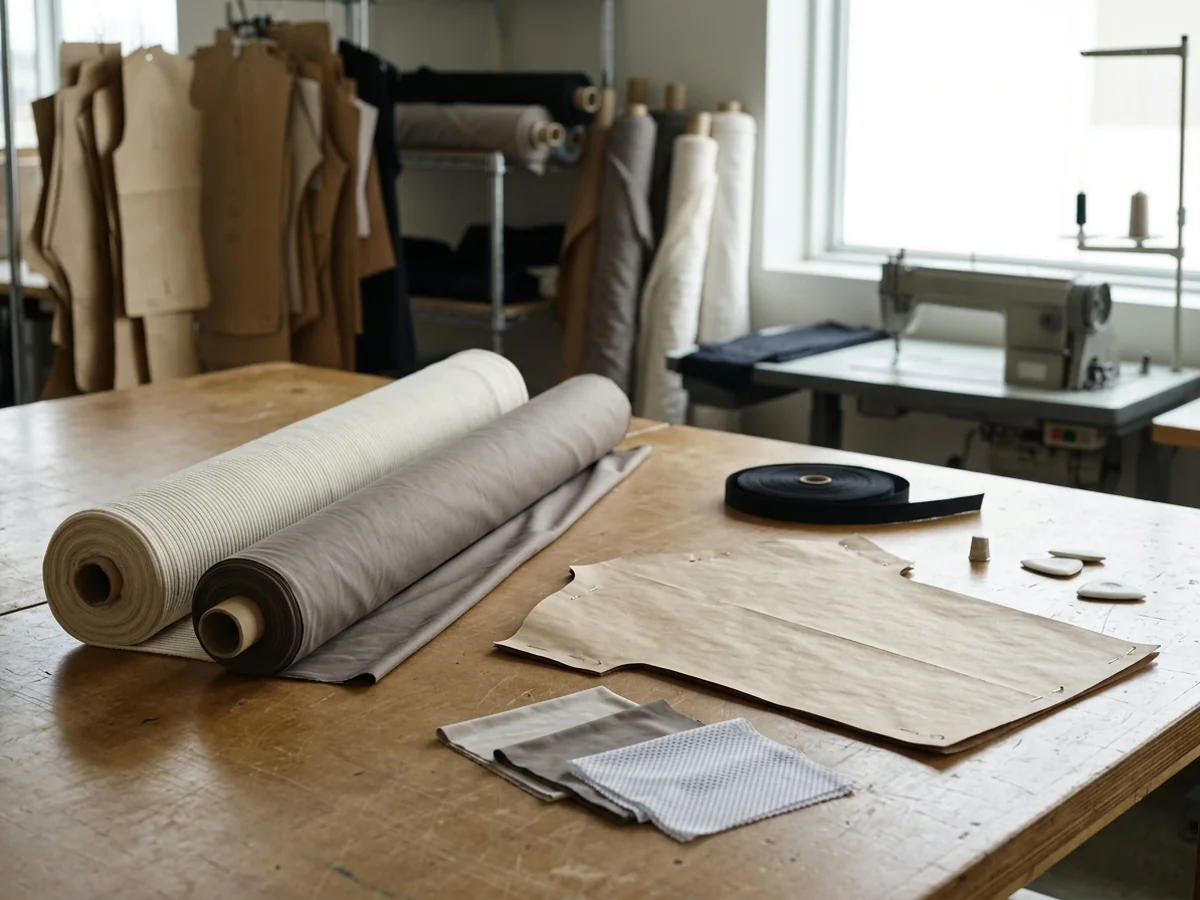
Which blend and which weight a panel takes is a subject of its own and sits on Custom Fabric Development. What follows is only the allowance: where it goes, why the position asks for it, and what it looks like when the rider is not riding.
Allowance is real material. On the bike it is what lets the position happen; standing still it is this — and that is the trade every row below is about.
Where the allowance goes
Why the riding position asks for it
What it costs standing still
Back lengthMoves the pattern most
The back lengthens along its curve as the rider reaches forward, and the hem is drawn up from behind. The back panel is cut longer than a standing measurement asks for
The surplus has nowhere to go. It settles into folds above the hem, and the back sits visibly lower than the front
Across the shoulder bladesMoves the pattern most
The blades spread and roll forward on the bar. The room goes across the upper back, not into the chest measurement — making the whole garment bigger is what happens when nobody decides where it should go
A soft fullness across the upper back, and a collar that can stand away at the nape
Armhole positionMoves it noticeably
Rotated forward, so that coming out of the saddle no longer drags the sleeve across the shoulder each time
With the arms hanging, a diagonal crease runs from the underarm toward the chest, and the sleeve reads very slightly turned on the arm
Front-to-back length differenceMoves it noticeably
The front shortens as the hip closes; the back stays exposed and still has to cover. Front and back are not the same length, so the side seam is not either
The front hem sits high. Buyers read that as “the front is too short” rather than as the reason the back stays down
Sleeve lengthMoves it least
The sleeve travels up the arm when the arms reach forward, so the finished edge is placed where it lands on the bike
Arms down, the cuff sits lower than the measurement suggested
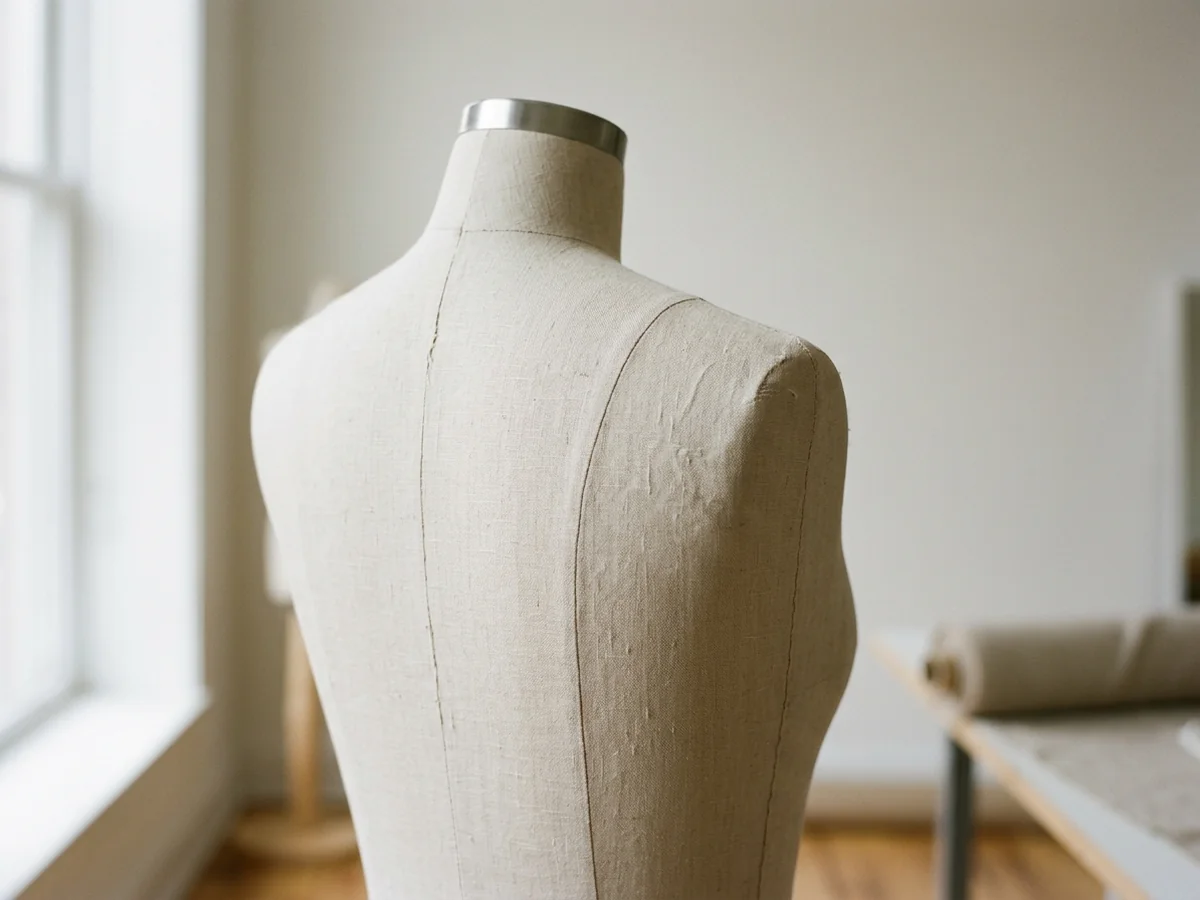
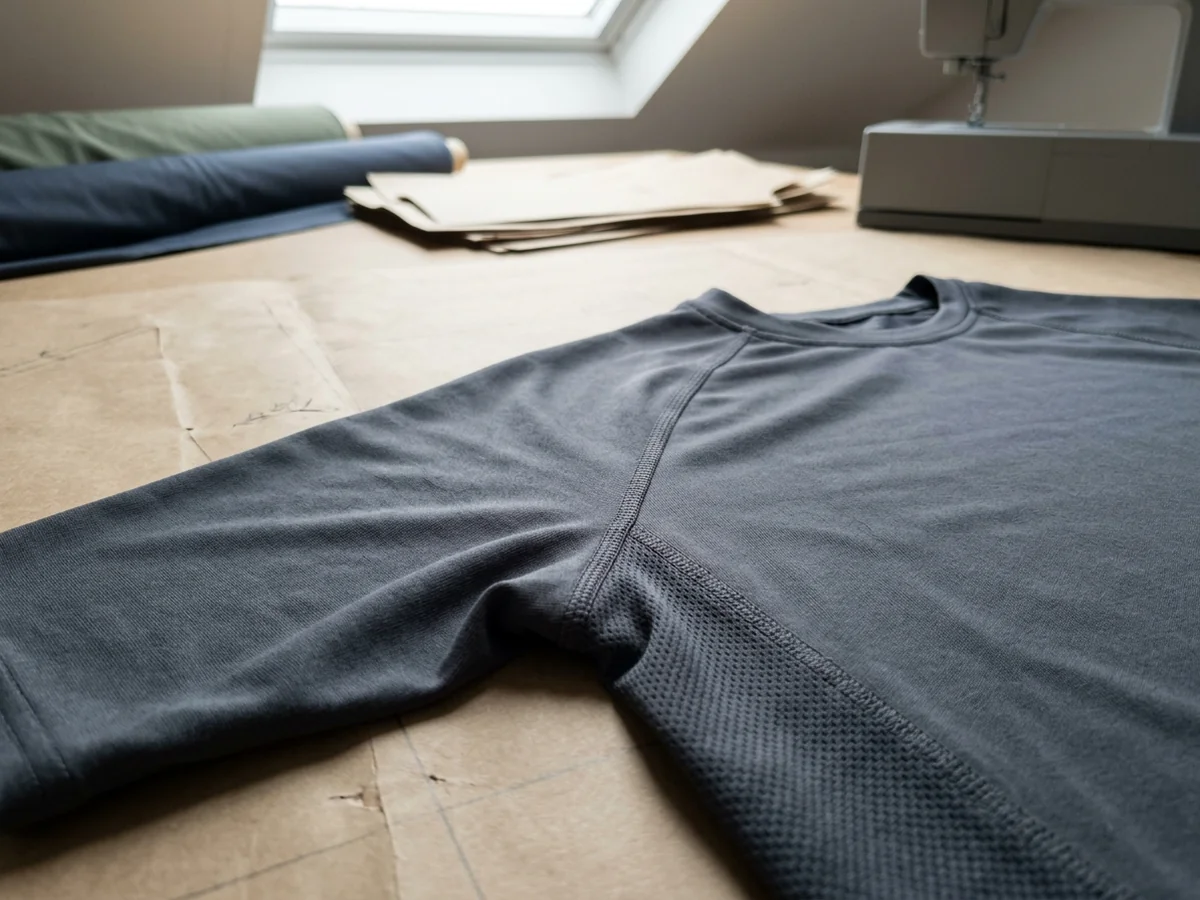
The upper back and blade area — the place the second row of the table is talking about.
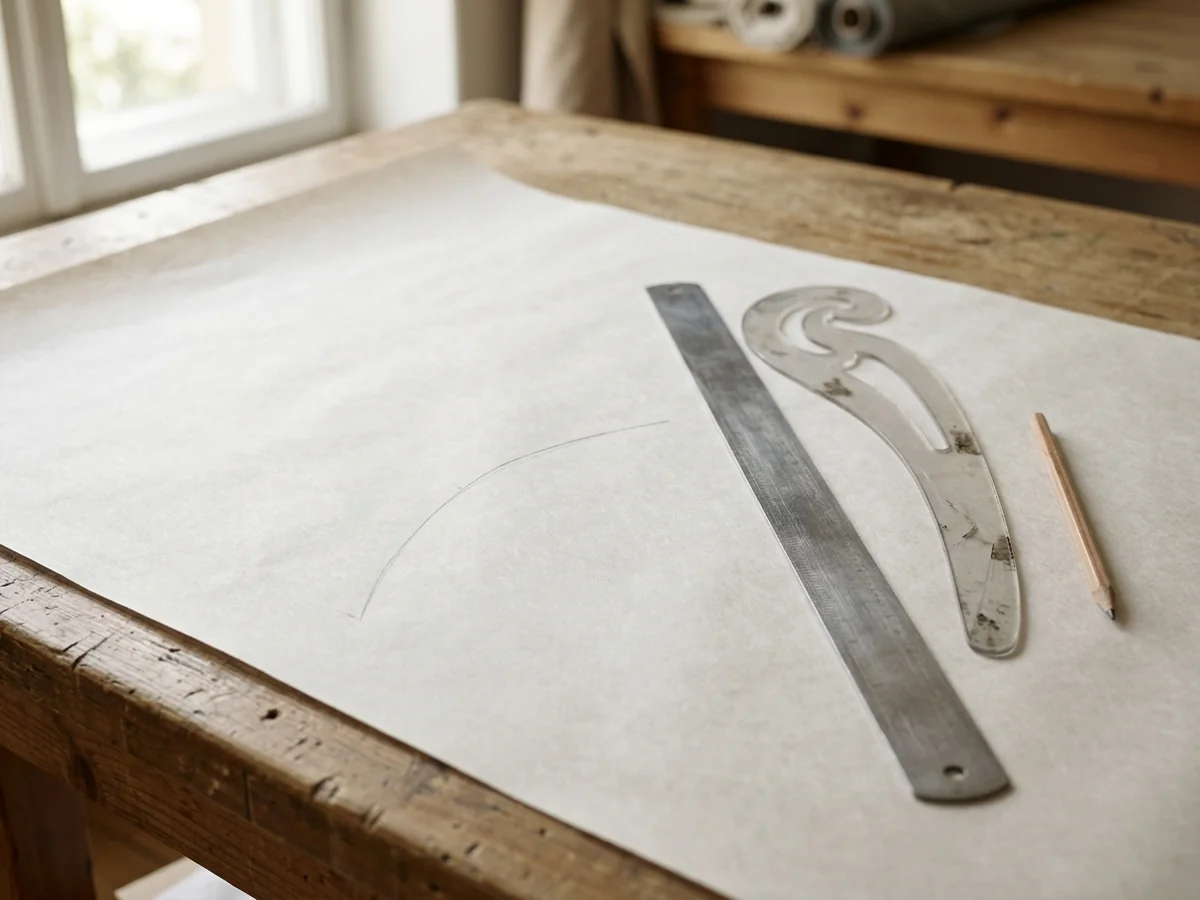
An armhole is a curve somebody drew, not a measurement somebody looked up.
The same curve once it is a garment: shoulder, armhole and sleeve head laid flat.
Where the marks fall
Back length, down the centre
Across the blades, straight over
The armhole, rotated forward
The hem, front against back
The sleeve, ending on the bike
The Currency Is Always the Same
Every cost in that third column is paid in one place: how the garment looks on a body that is not riding.
That is the trade this page is about, and it does not have a clever solution. What it has is a decision, made deliberately and told to you in advance instead of discovered in a delivery photograph.
Why We Will Not Publish the Figures
Because a percentage is not a fit. How much each place gets is set on a sample, on a body, in the riding position, against your own chart if you have one.
A figure printed on a web page has been lifted out of the only thing that gave it meaning. We also make no claim to have tested a pattern across body types.
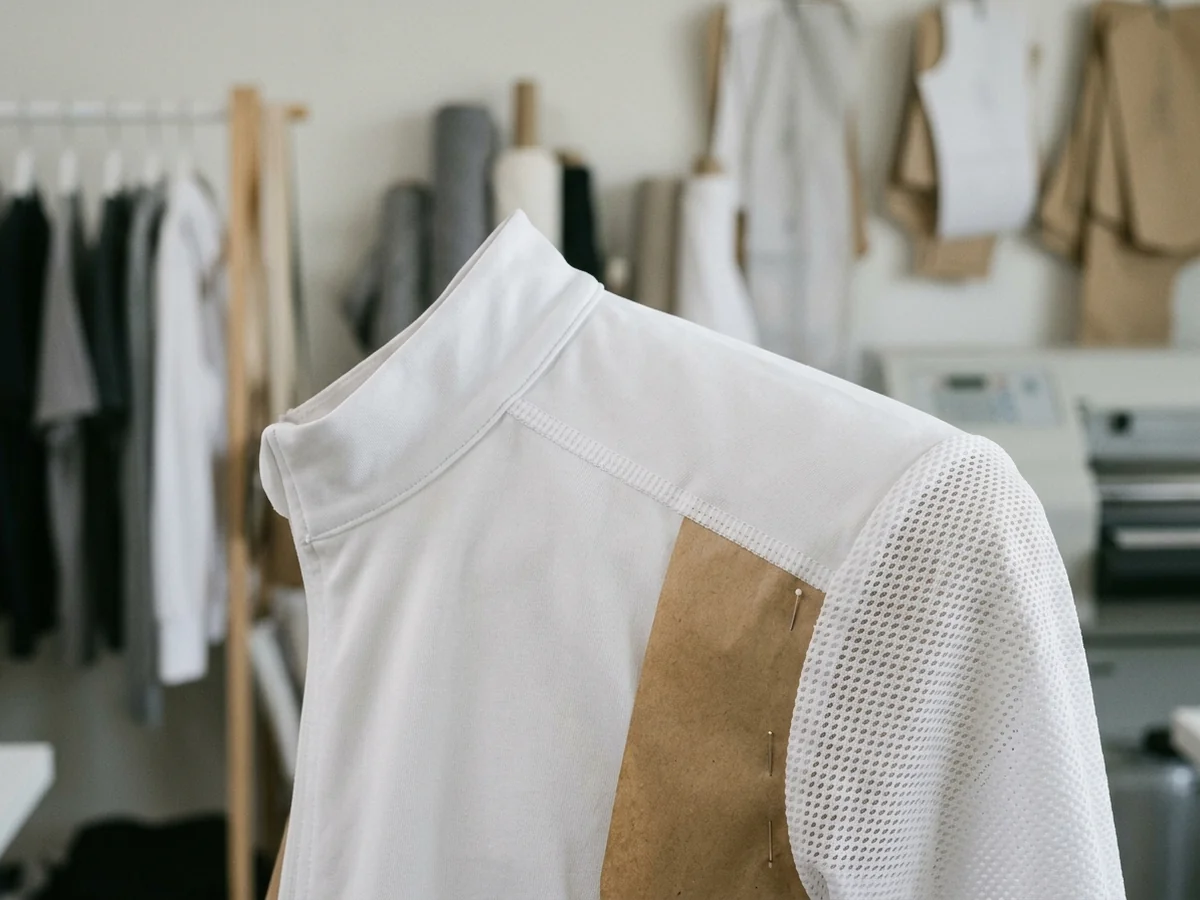
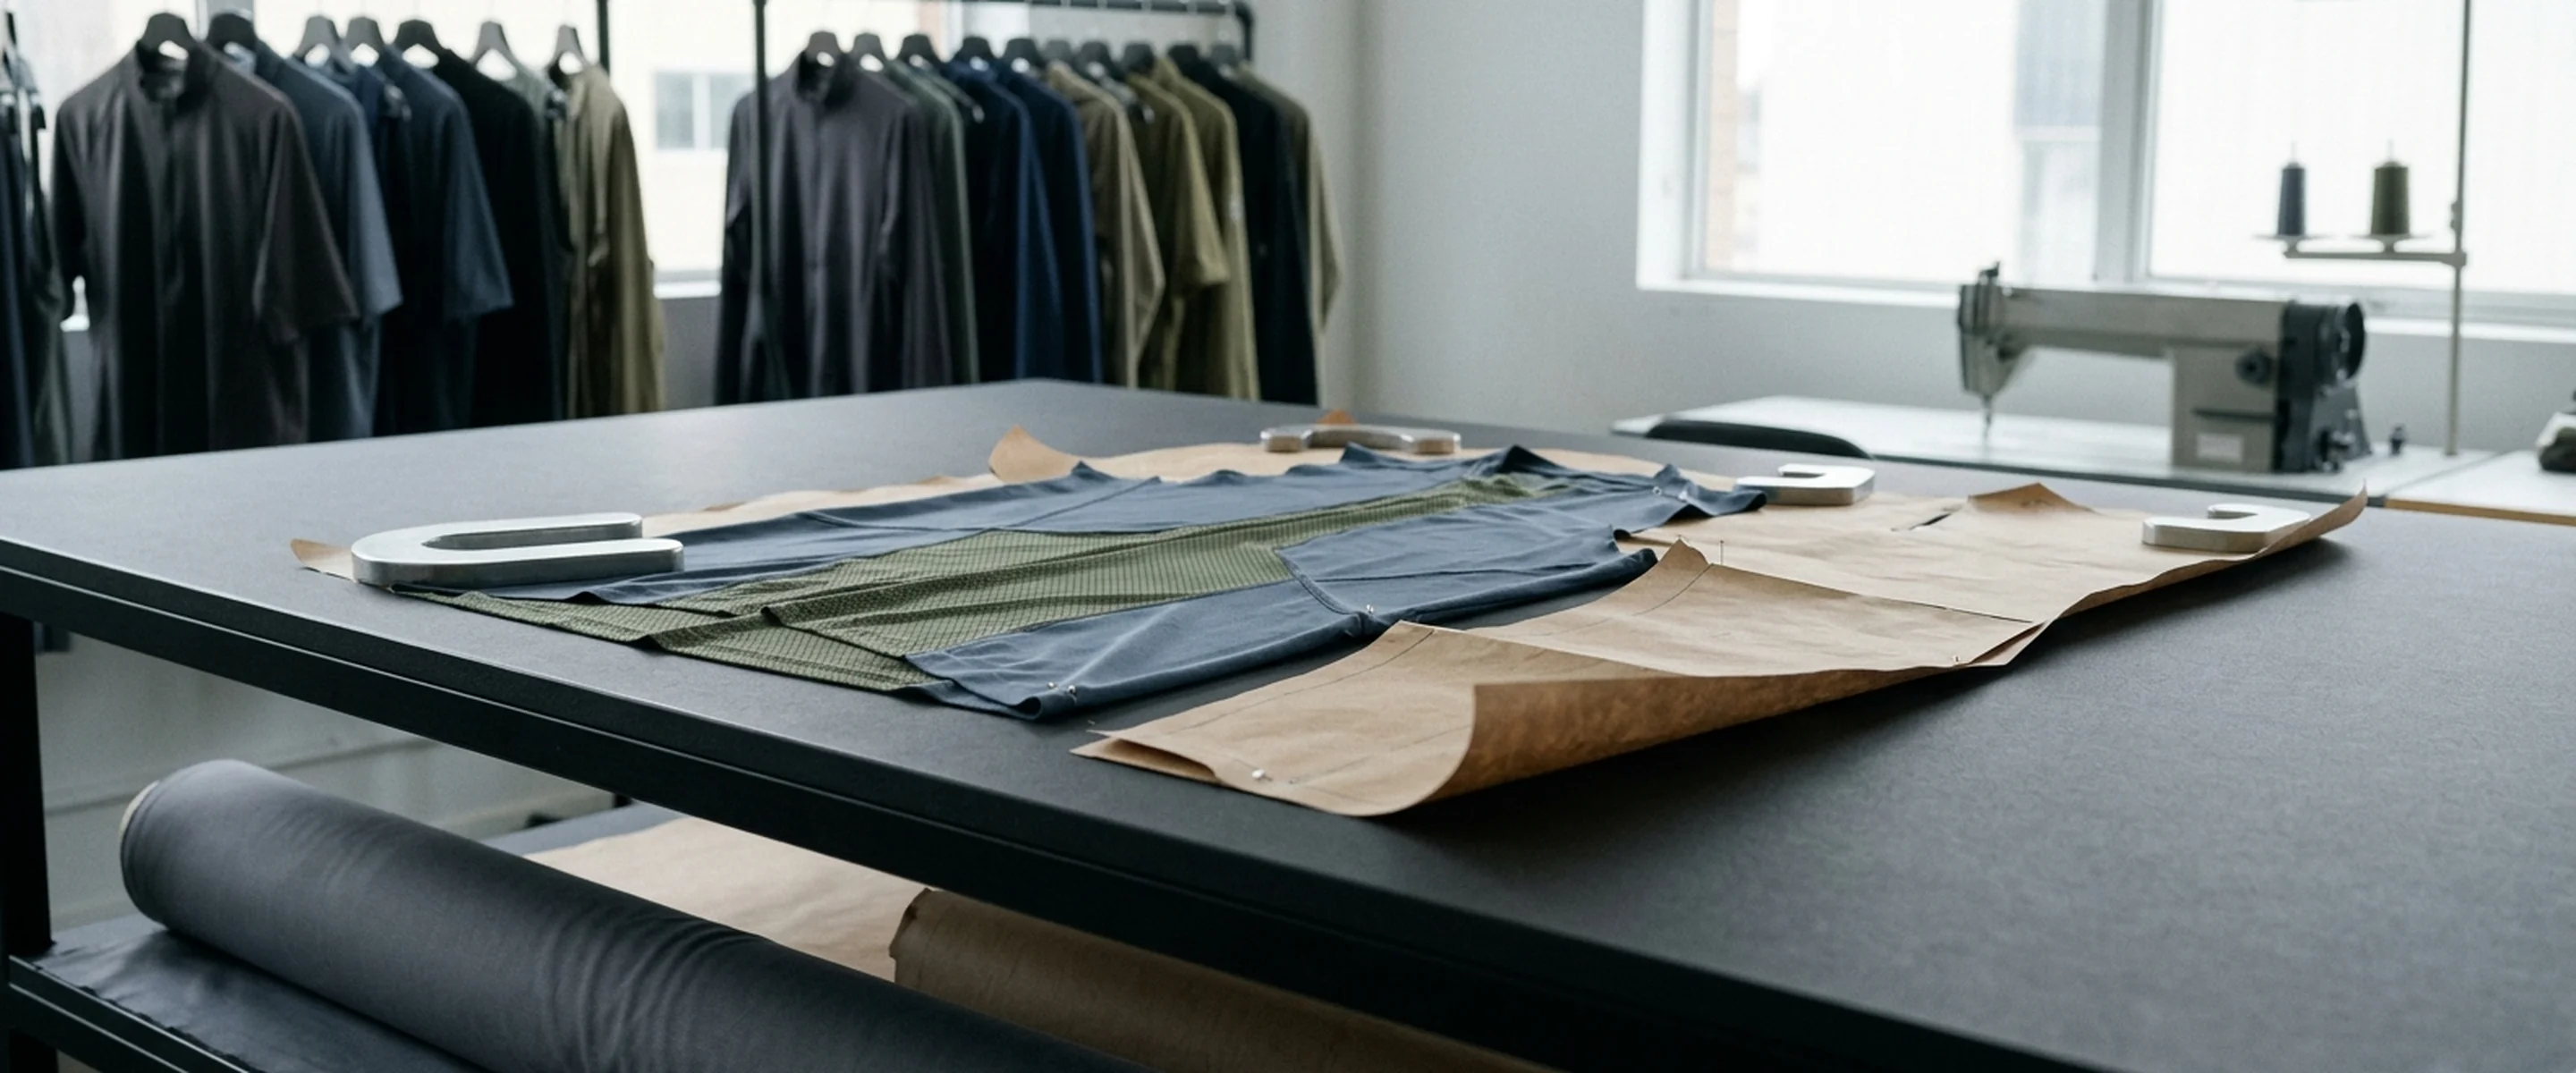
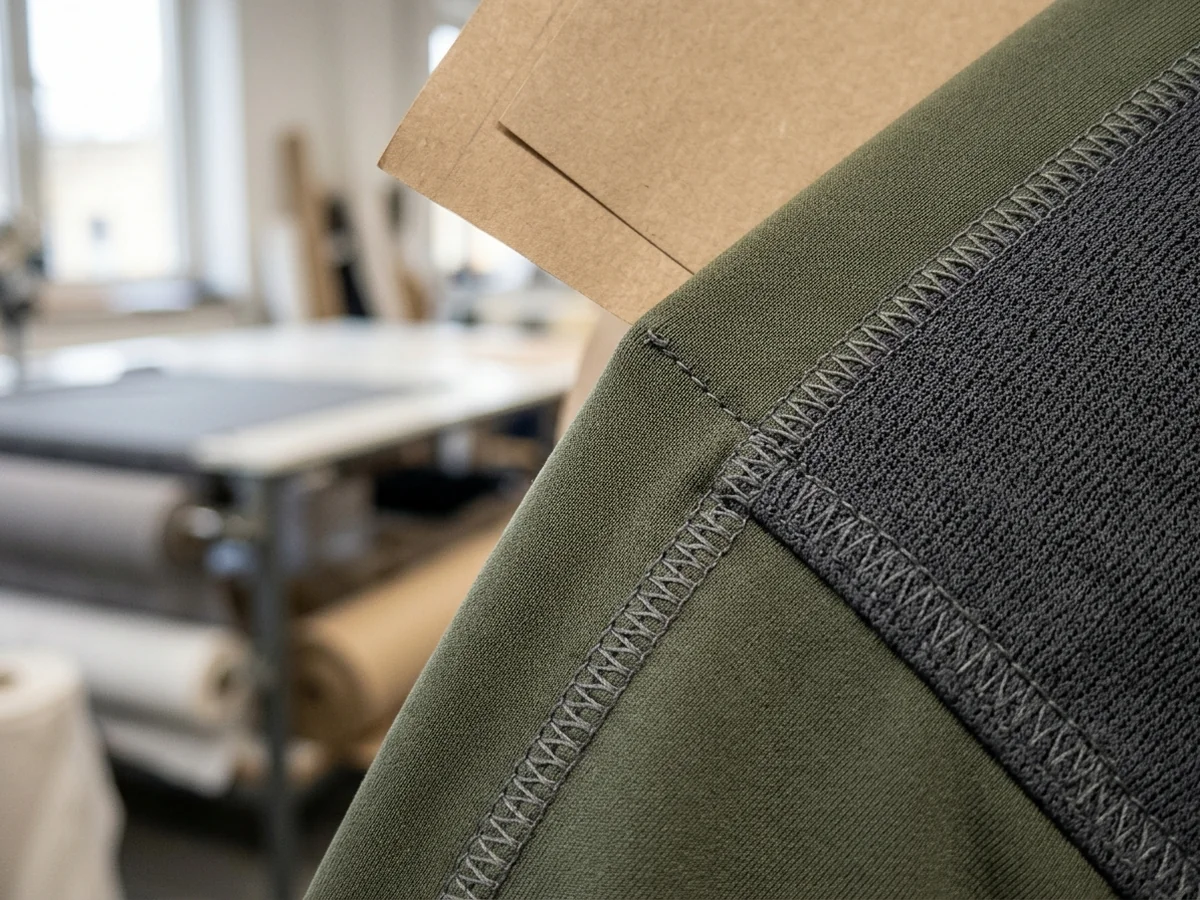
The structural seam that crosses the blades, and the line it actually takes from the neck to the underarm.
The cloth
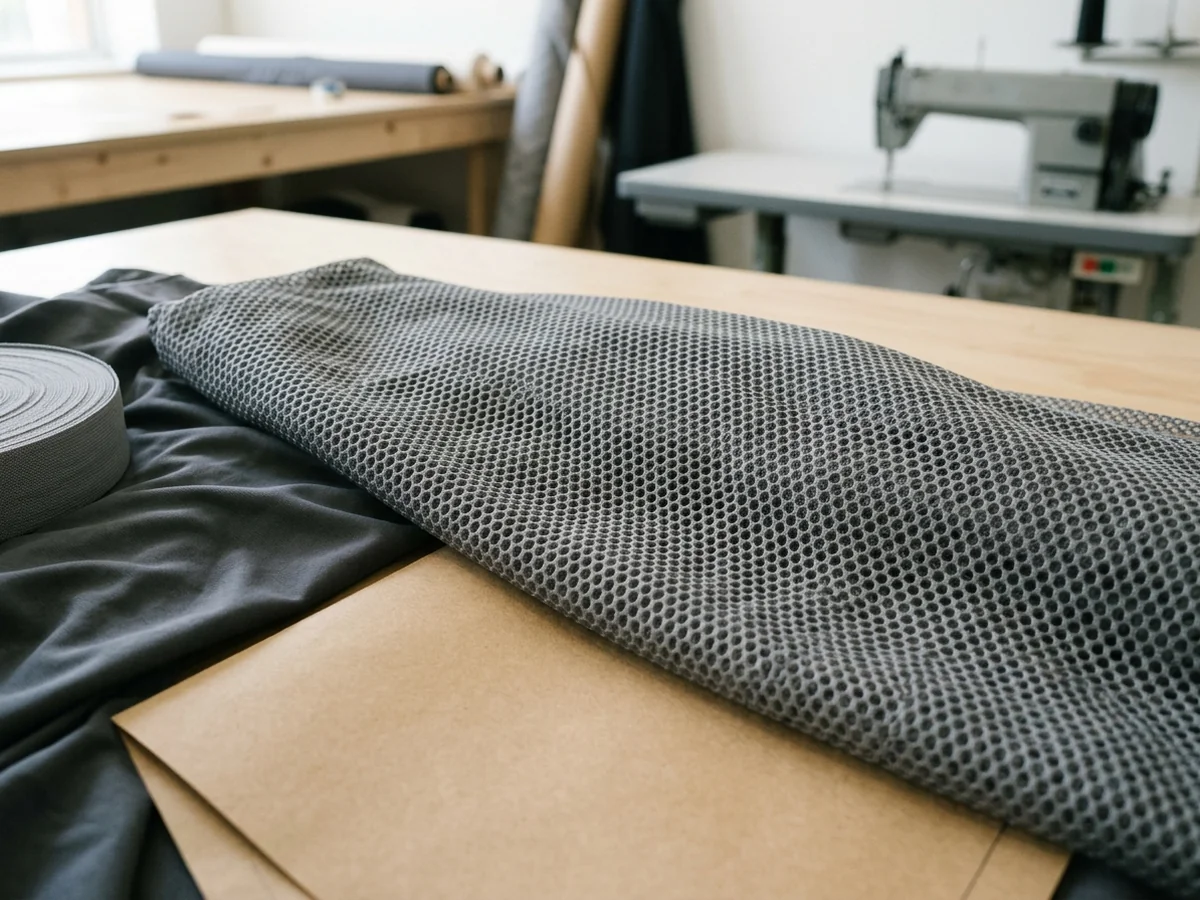
A high-recovery knit takes part of the movement itself, so less of it has to be built into the pattern.
The pattern
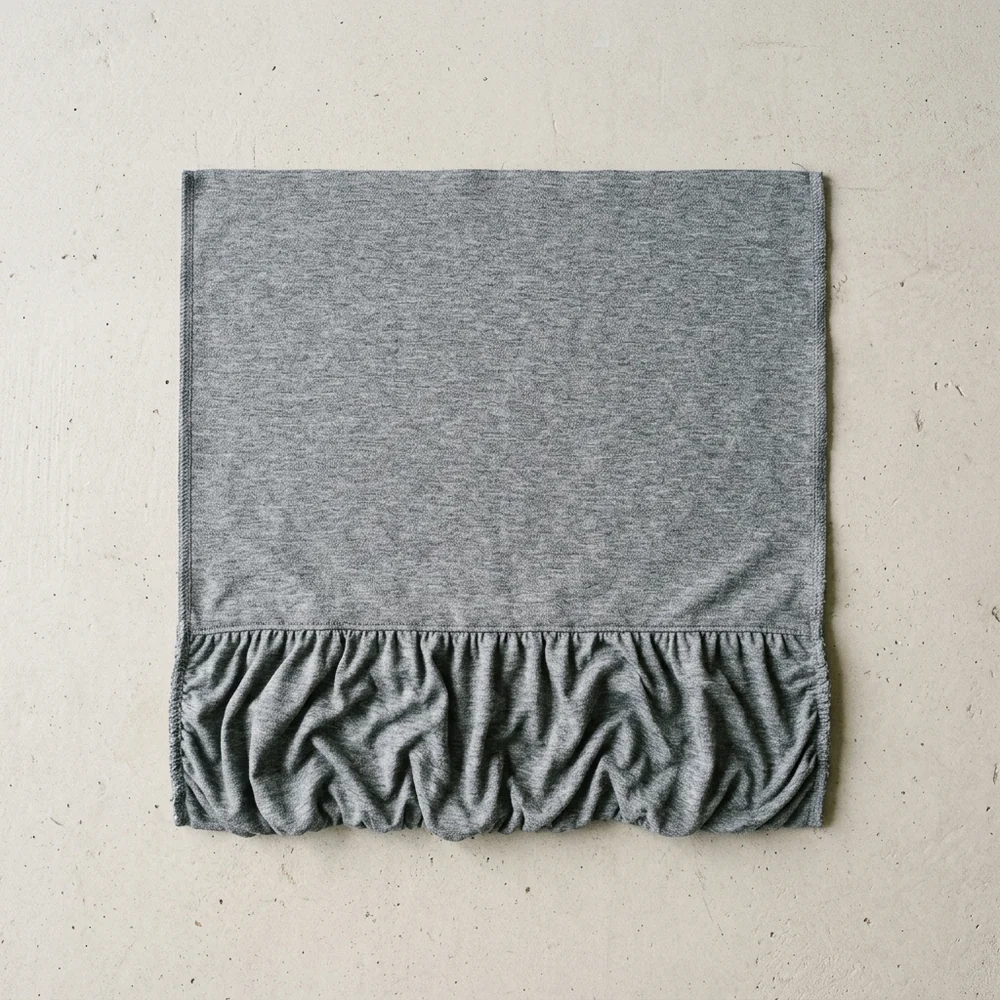
And this is where the rest of it goes when the rider stands up: cloth with nowhere to be.
What the Fabric Takes Back
A high-recovery knit absorbs part of the movement, so less has to be built into the pattern. A heavier, more stable panel absorbs less and needs more.
Which blend and which weight a panel takes is set out on Custom Fabric Development; here it only changes how much of the allowance the pattern itself has to carry.
Who Draws It and Who Signs It
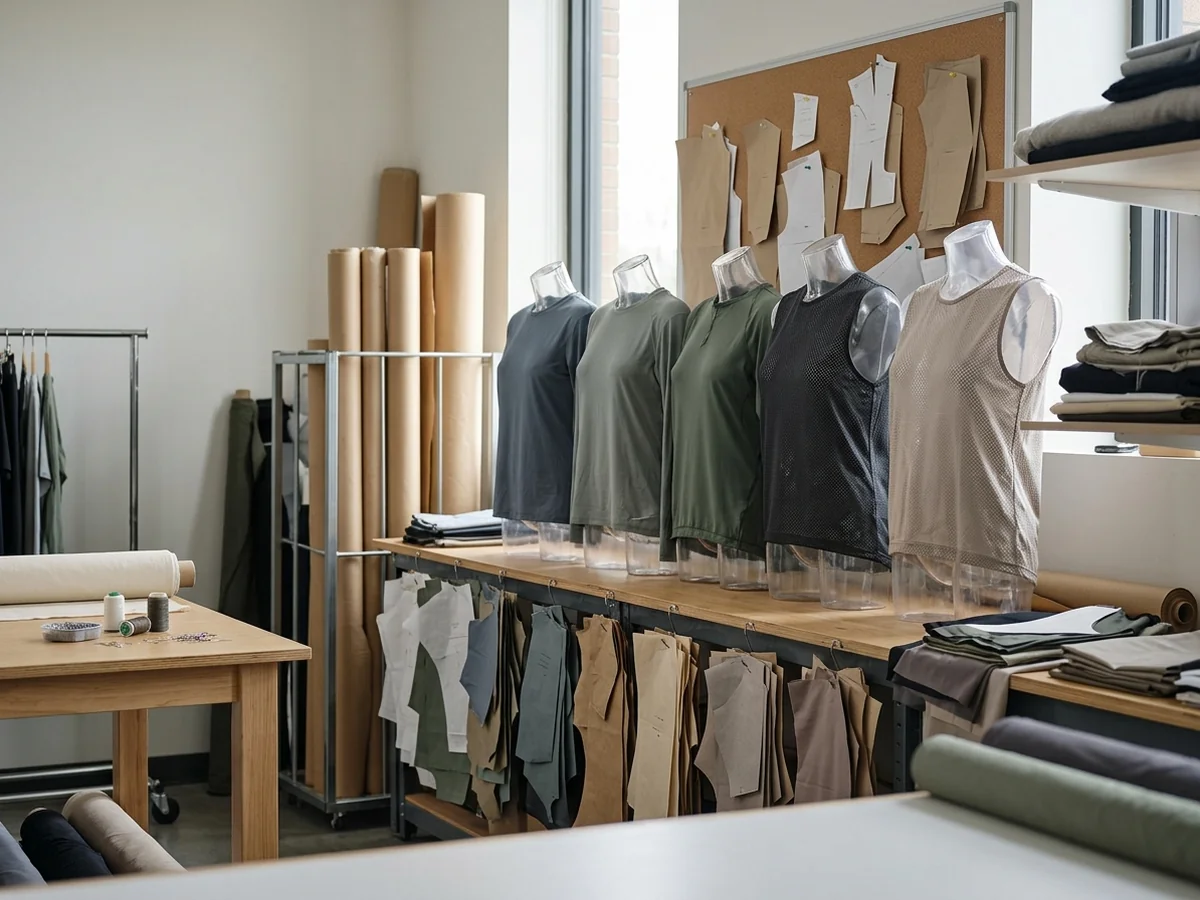
The pattern is drawn by the pattern room, judged on a sample by the person who wrote the spec, and signed off against that spec before grading starts.
That is a division of responsibility, not a claim about anyone's years of experience.
Know How Your Riders Sit, but Not What to Ask For?
The Three Other Judgments Riding Fit Development Turns On
Allowance allocation sits in the middle of four judgments. The other three get a section each — and none of them is a production step, which is the distinction that keeps this page out of the sampling page's territory.
How a sample is actually made, how many revision rounds a spec gets and what sign-off releases are set out on Sampling & Prototyping. What follows is what the pattern was trying to do before any of that starts.
Posture assessment — what we ask, and what we deliberately do not.We ask about the position, not about bodies: how far the bar sits below the saddle, how long riders are out there, whether hands live on the tops or in the drops. We do not ask for a body-measurement block at brief stage — that is a size-chart question, and it arrives later.
Core-fit retention — the four places that get nothing.Allowance is spent where the body moves and withheld where the garment has to stay in contact: hem gripper zone, collar, cuff opening, pocket line. Room in those four is not comfort, it is flapping — and flapping is what riders call badly made without knowing why.
Sample validation — judged on the bike first, standing second, in that order on purpose.The question is narrow: did the allowance land where it was drawn? Not “does it look good”, which anyone can answer. Rounds, what a round covers and what sign-off releases are on Sampling & Prototyping.
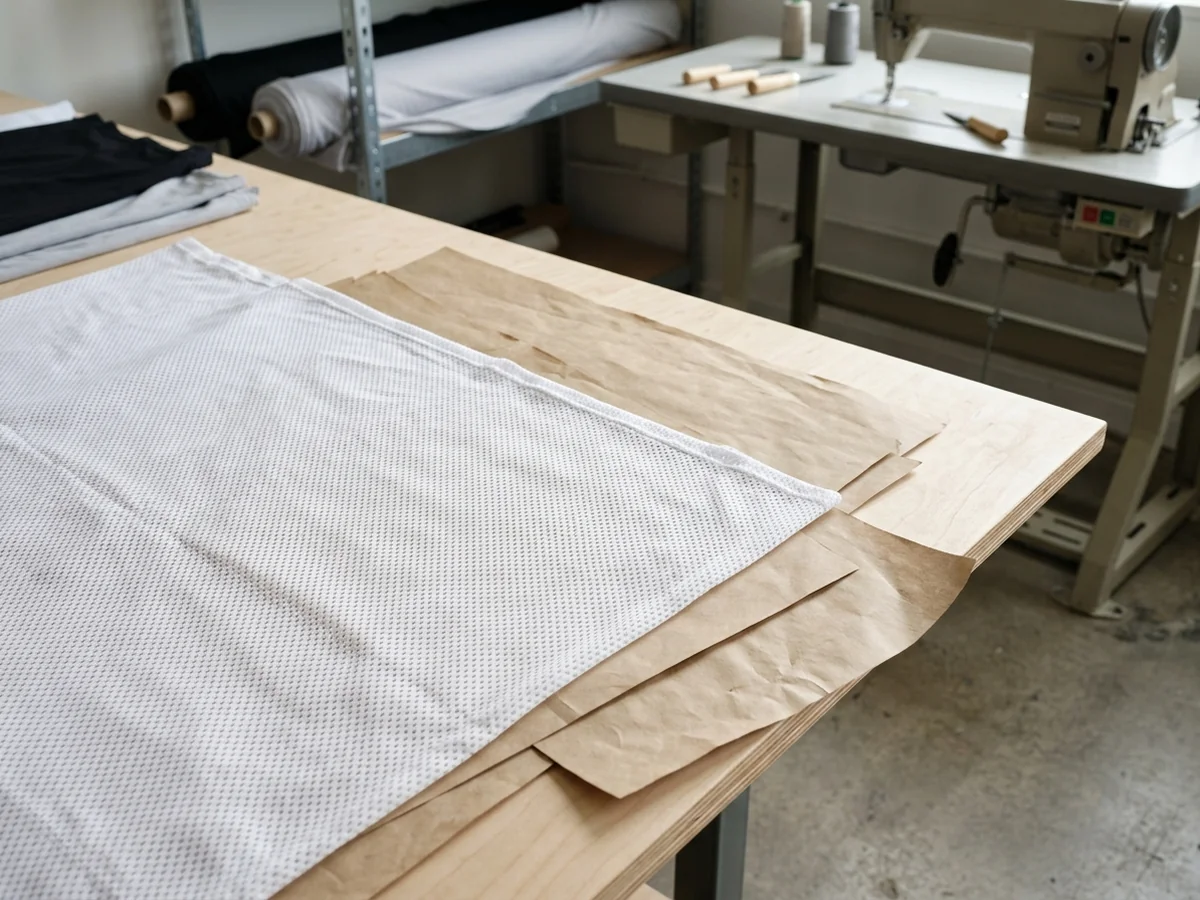
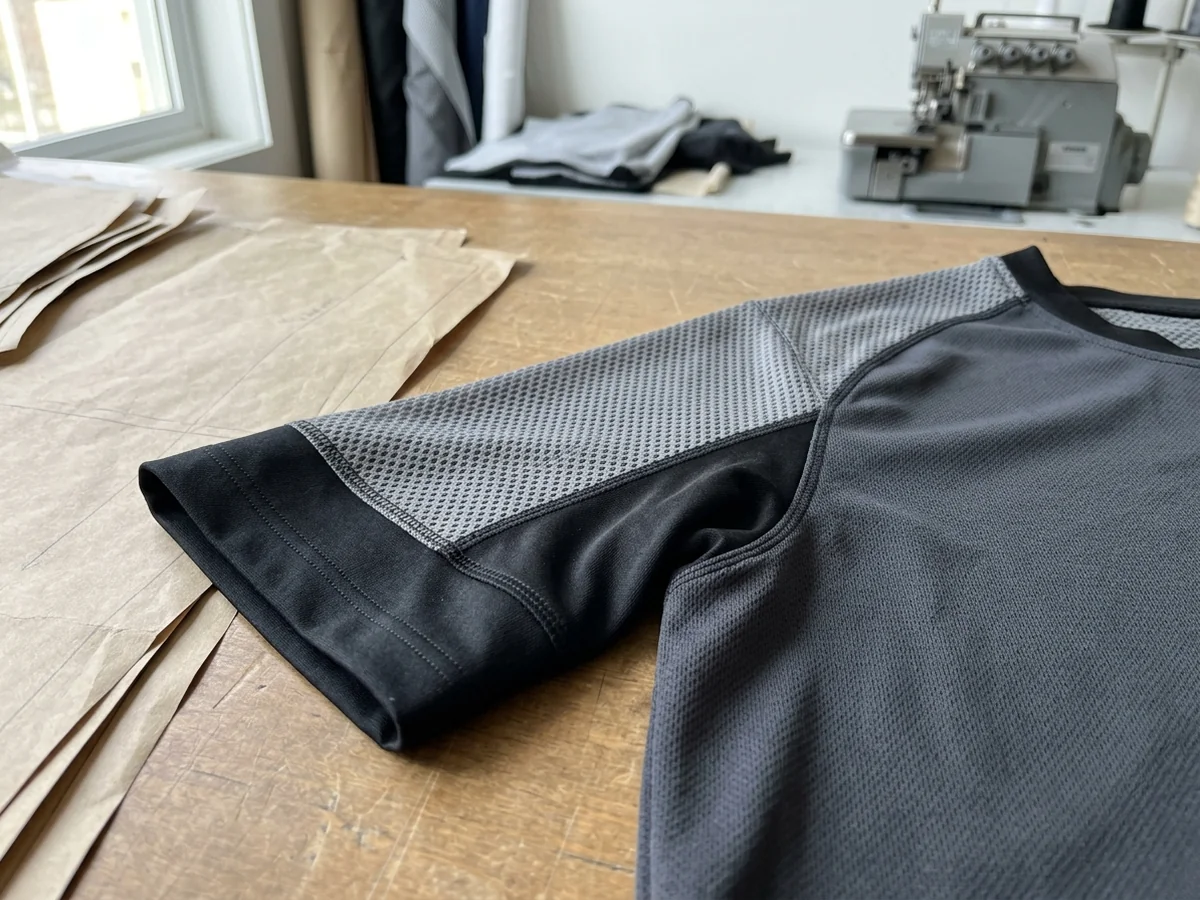
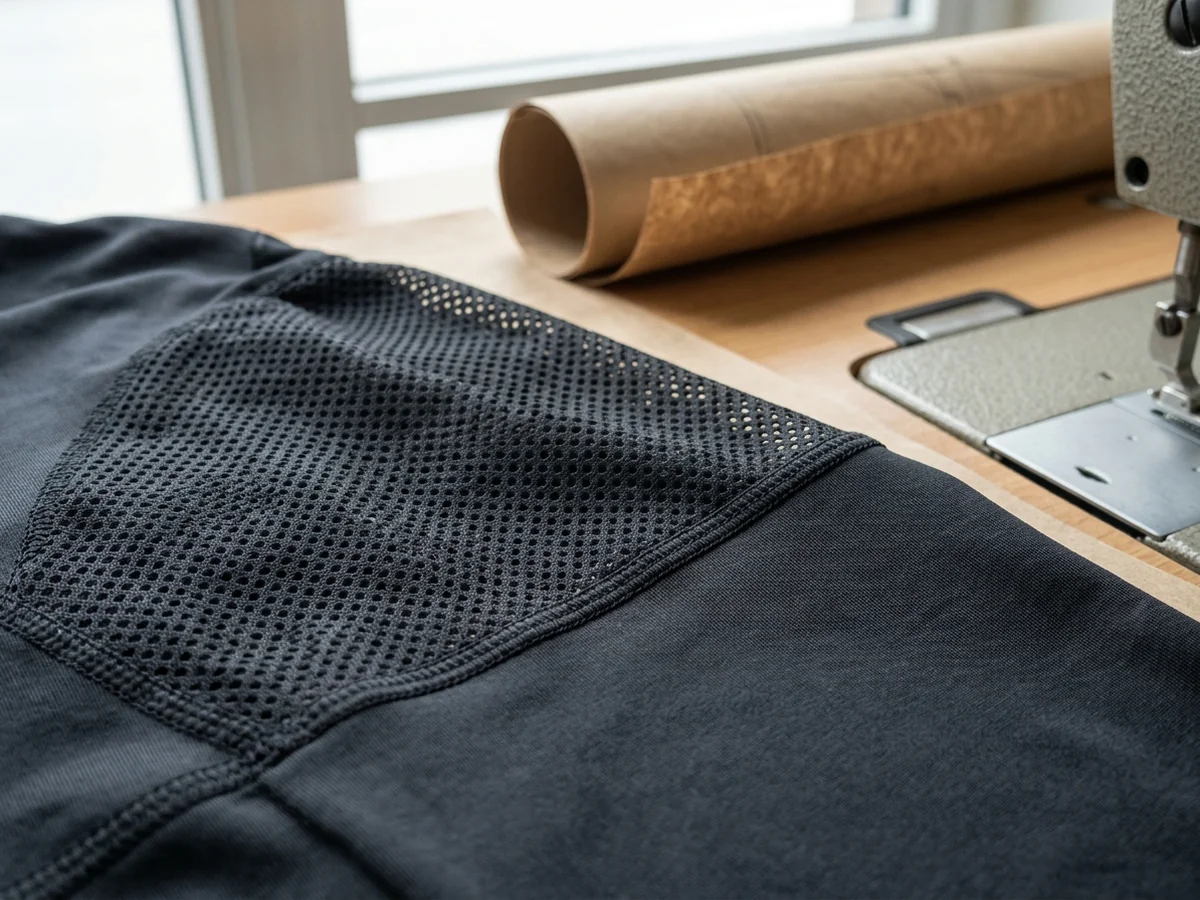
A zone that has to move: open structure, and room designed into it.
A zone that has to stay in contact: dense structure, and no room given at all.
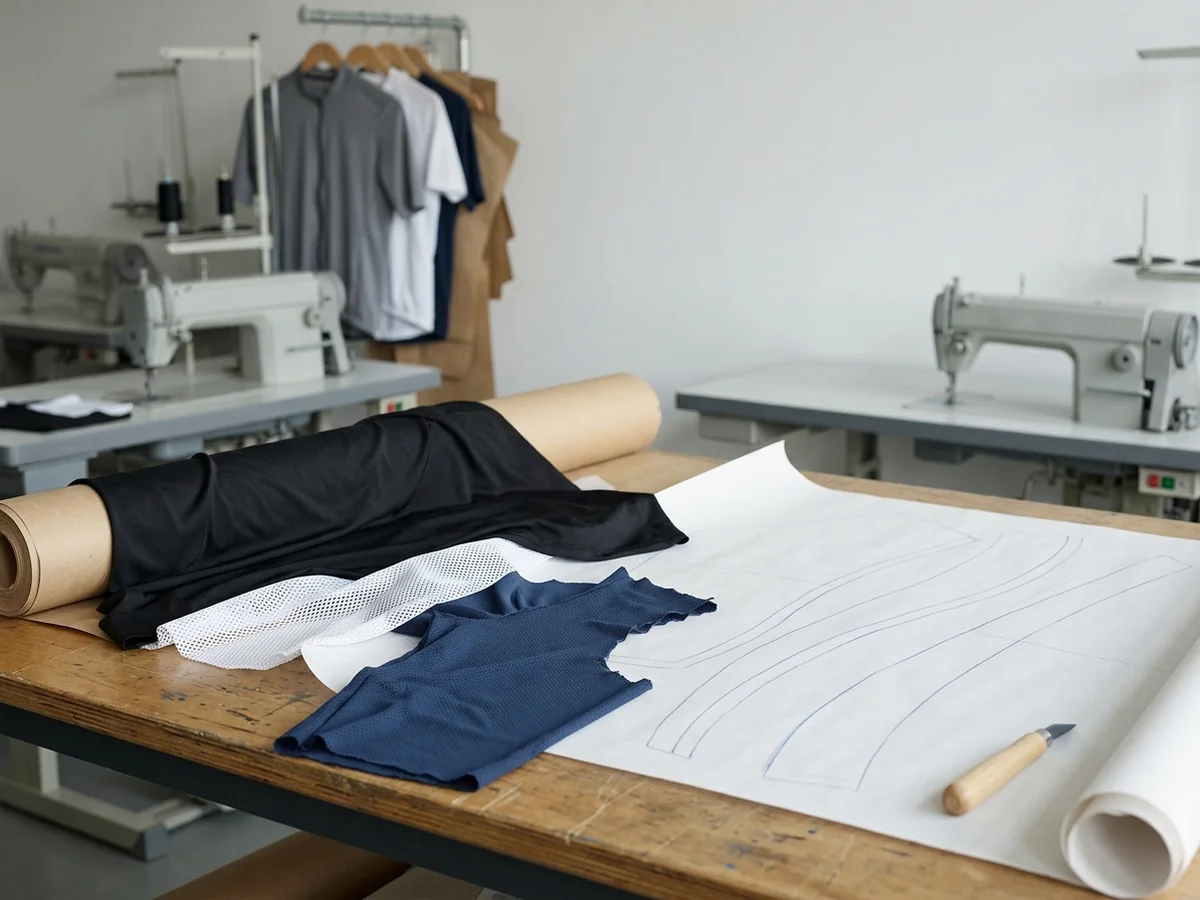
And the judgment happens on cloth that was actually made up, never on the drawing.
Why Only One of the Four Gets a Long Section
Because the other three are stable. Posture assessment asks the same questions every time, core-fit retention protects the same four places every time, and validation asks the same single question every time.
Allocation is the only one where the answer changes with your riders — so it is the only one worth the space.
One method, five landing places
The Same Four Judgments, Answered Five Different Ways
One method, five riding positions, and five different places for the allowance to land. Work down the three questions and you will arrive at the column that describes your riders.
Fabric, decoration and the conditions each discipline rides in belong to the scenario pages. What changes here is narrower and more useful: the posture differs, so the landing place of the allowance differs.
All five stay open until you answer the first two questions.Nothing here is hidden before you choose, the table below never closes, and every question keeps a “not sure yet” answer that reopens the set.
RoadLowest and longest, held for hoursThe ease lands low, in back length.Most of the allowance lands in back length, and what it gives up is how the garment reads standing.Custom Road Cycling Apparel
GravelMore upright, and it changes constantlyThe ease lands high and wide, across the blades.Most of it goes across the blades, because the rider keeps moving; some close contact is given up for it.Custom Gravel Cycling Apparel
MTBUpright, with large abrupt movementThe ease gathers at the armhole and shoulder.It goes to the armhole and shoulder, and the price is close contact across the chest.Custom Mountain Bike Apparel
CommuterNear-upright, head up in trafficBack length again, but visibly less of it.Back length again, but less of it, and very little is given up — the most forgiving of the five.Custom Commuter Cycling Apparel
TriathlonLow and held, arms forwardAlmost none of it, anywhere.Allowance is held to a minimum because the position barely changes; comfort off the bike is what goes.Custom Triathlon Suit
One question leftTwo of the five share that postureA low position held for hours describes road riding and triathlon alike, and only the third question separates them. It is the one question on this page that decides between two answers rather than five — saying so is more use to you than pretending otherwise.Or tell us in your own words
Deliberately. Each column is the right answer to a different question about riders.
A factory that recommends one of them before asking about your riders is recommending its own convenience.
If Your Roster Sits Across Two Columns
Most clubs do. The usual resolution is to develop against the position riders spend the most hours in and accept the cost in the other one.
Stated out loud at brief stage rather than found at fitting.
The question buyers actually ask
Race Fit and Club Fit Are Not Tight and Loose
The question buyers actually ask, answered the way a pattern room would answer it: both fits carry movement, and they differ in where that movement is allowed to be visible.
Race Fit
Club Fit
The axis
Race Fit
Club Fit
Where the allowance concentrates
Almost all of it in back length and across the blades; circumference stays close to the body
Spread wider, and some of it goes into circumference so the garment reads relaxed
What gives way first
How it looks off the bike, and it is less forgiving of a body that changes across a season
Some of the close contact on the bike — more fabric behind the arm and across the chest, and it moves when the rider does
Who asks for it
Riders who hold a low position for hours
Rosters covering a wide range of bodies, and riders who are not racing
What is identical in both
The contact points. Collar, cuff and hem gripper are treated the same way in either fit — neither one gets room there
Race Fit
Fine, close and quick to spring back.
Club Fit
Softer, deeper, and it hangs where it is put.
The Sentence That Settles Most of the Argument
Both fits contain movement; they differ in where that movement is allowed to show.
Once a buyer has that sentence, the conversation stops being about tight versus loose and starts being about which moment the kit has to look right in.
Ordering Both Inside One Roster
Some clubs do exactly this — the same artwork on two patterns. Worth knowing: they are two styles rather than two sizes of one, because two patterns is what they are.
Trying to split the difference into a single middle pattern usually produces a garment that satisfies neither group.
What This Comparison Does Not Include
Aerodynamic gain. We hold no wind-tunnel data and will not put a figure, a time saving or a compression value against either fit.
A pattern cut for the riding position will always look slightly wrong standing still. Choosing which of those two moments the kit has to serve is the whole of fit development.
The two edges next to skin
Two Small Structures Decide Whether the Kit Looks Expensive
They are the two edges next to skin, at the height a photograph is taken, and they are the two most often left to whatever the block already had.
The collar
The cuff
Where one garment has to meet another — a warmer under a cuff, one table across a whole kit — is set out on Complete Cycling Kit Development. These two are decisions inside a single garment.
The Collar
Cut higher at the back than at the front. A collar with one height all the way round does two things at once in the riding position: it gapes at the nape when the head lifts, and presses at the throat while doing so.
Raising the back and dropping the front fixes both. Standing, the raised back reads as a deliberate line.
The Cuff
Placed where the sleeve edge lands with the arm extended, not with the arm hanging.
And the finished edge has to stay in contact without leaving a mark, which is a circumference decision made on a body rather than read off a chart.
The collar stand against the shoulder line — the front-to-back height difference happens right here.
And the band where it actually meets skin: contact without a mark is the whole specification.
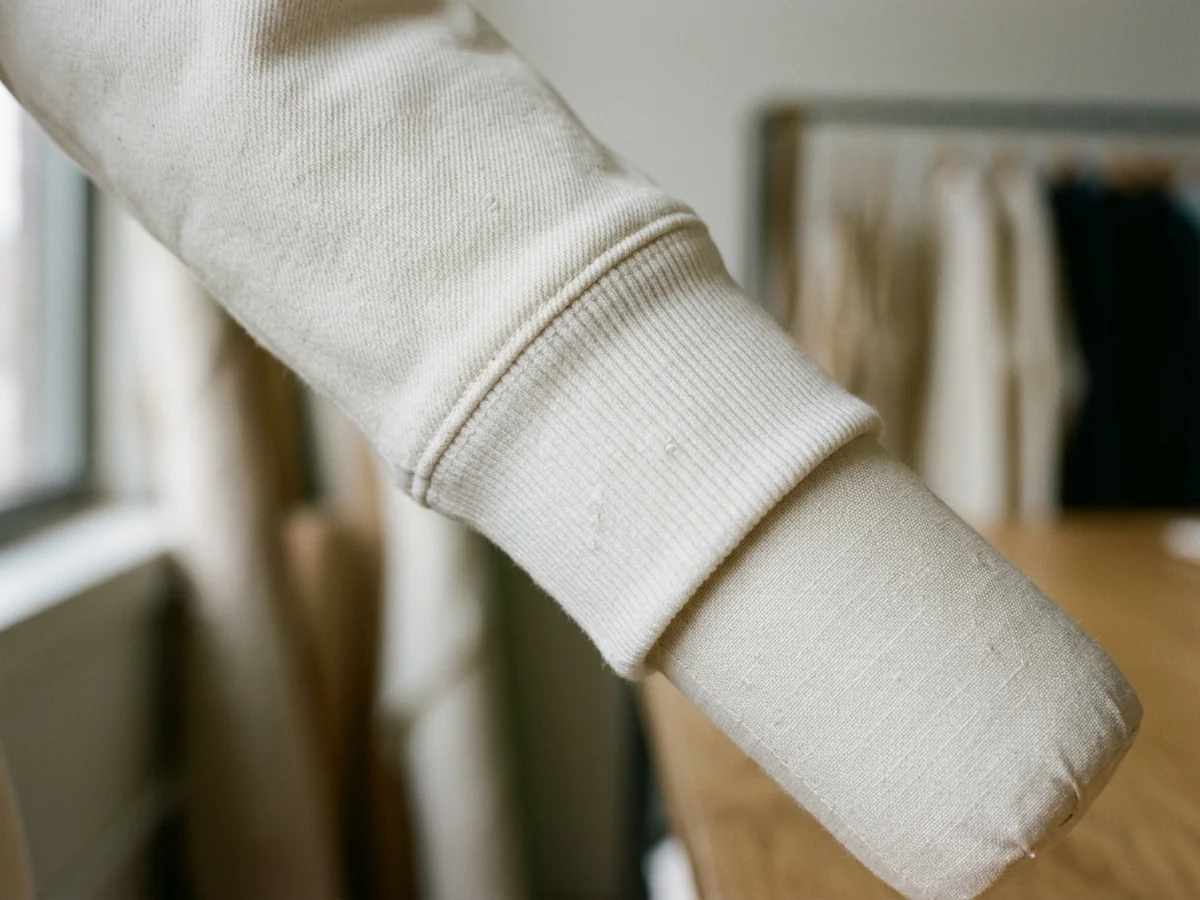
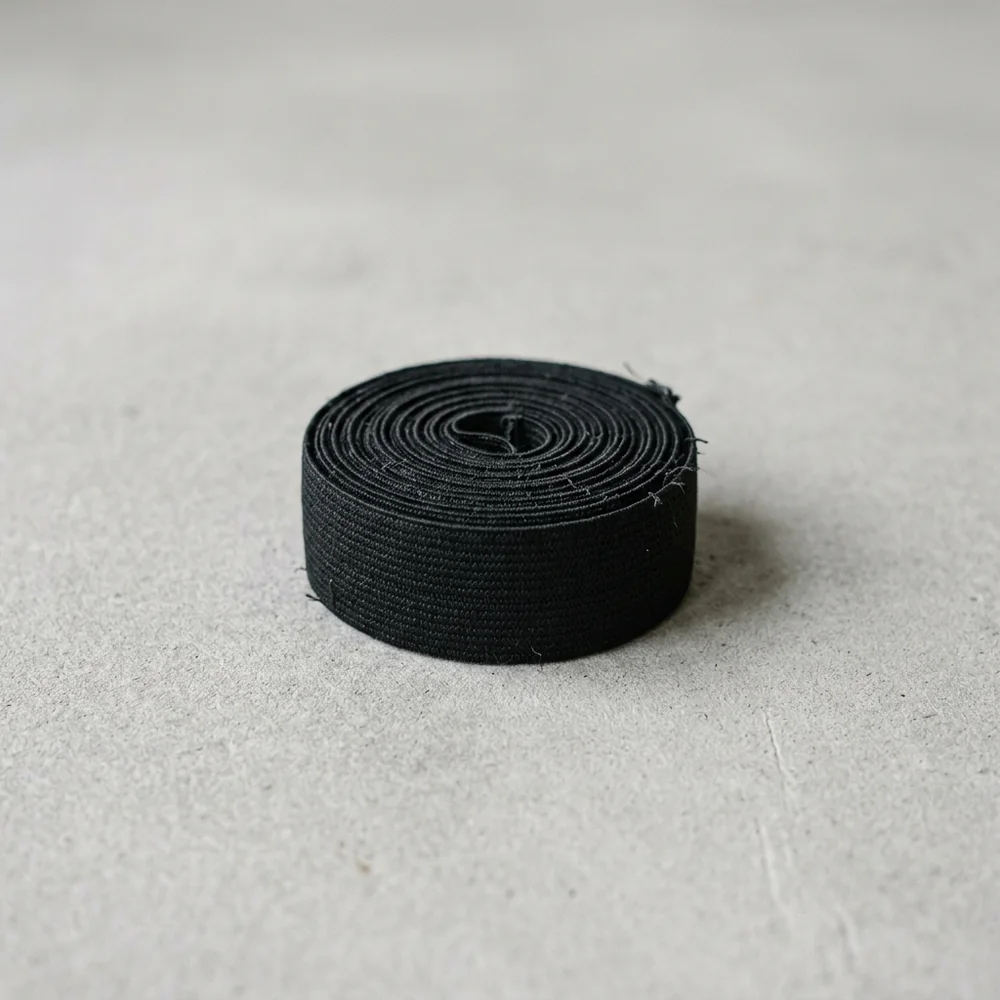
Rib structure, which is how an edge can grip and still let go.
Why These Two and Not the Others
Because of where the eye goes, and because of what they do not disturb.
A garment can be right everywhere else and still look cheap at the neck.No amount of correct back length rescues it, because the neck is where a reader's eye lands first.
They are also the cheapest places to get right.Neither one changes the grade, so fixing either of them stops where it started instead of travelling through the size run.
One intention, seven sizes
Holding One Pattern's Intention Across Seven Sizes
Grading is where a good pattern quietly stops being one. The failure is not that the sizes are wrong — it is that the allowance grows along with them.
Back lengthsteps with every size
Across the bladessteps, and a little less
The contact pointsbarely move at all
Size
XSSMLXL2XL3XL
Three rules running side by side across one size run. The blocks rank the three against each other — they are not measurements, and this page publishes none.
How it is graded
Which part of the pattern
Steps with the size
Back length, and the width across the blades
Steps, but by less
Armhole placement, and the front-to-back length difference
Barely steps at all
Collar, cuff opening, hem gripper zone — the places that were given no allowance to begin with
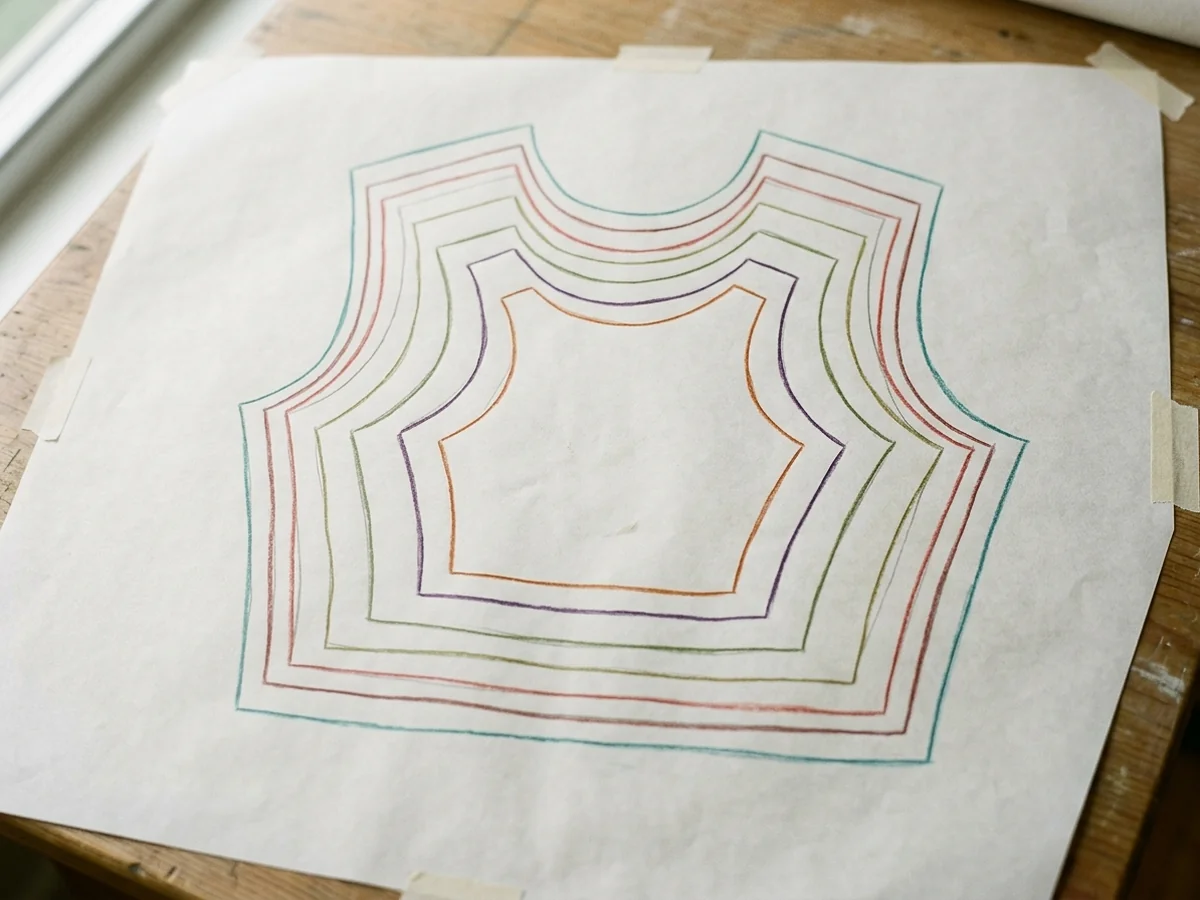
One outline repeated at different spacings. That is what grading looks like on paper.
A size run is a row of bodies, not one body scaled up and down.
And this is the outcome the size run is judged on: one pattern, a whole stack of sizes.
Grading Is Not Scaling
If every measurement grows by the same proportion, the movement allowance grows with it. The largest size ends up with more room than its rider asked for; the smallest with less than it needs.
So the allowance places are graded on their own rules: back length and across-blade width step with the size, the contact points far less.
The Range, and Whose Chart Wins
Our own base range is XS–3XL, with men's and women's patterns held separately. If your riders already order against a chart you publish, that chart becomes the one the steps are mapped to and ours steps aside.
Replacing the chart does not reopen pattern development — it re-maps the steps.
XS–3XLThe base range, men's and women's patterns held separately.
The Team Photograph Test
Nobody should end up looking like a tent, and nobody like a sausage. That is the entire brief for a size run, and a stricter one than it sounds: it has to hold at both ends of the range at once.
What to Measure, What to Photograph, and What to Send Us Instead
Your riders are somewhere we are not. This is what actually narrows the first sample, in the order of how much each one is worth.
Send a garment your riders already own that comes closest, and tell us what is wrong with it.A reference object beats a list of numbers, because it removes the question of how the tape was held. This is the single most useful thing in this list.
Measure that garment flat, on a hard surface — not on a body.Across the chest, the back length from the collar seam, the sleeve length. Flat measurements of a real garment are repeatable; body measurements taken by different people are not.
Photograph a rider on the bike, from the side and from behind.In the position they actually ride in, with their hands where they normally sit. A standing photo hides precisely what we need to see.
Tell us the spread of the roster rather than individual measurements.Where the range starts, where it ends, and where most riders sit inside it. That is what a size run is actually built against.
The most useful thing in the list, and the least technical: a garment that already exists.
Flat, on a hard surface. Every measurement below is taken like this or not taken at all.
Why There Is No Upload Box on the Form Below
Because the form posts text, and a fit conversation arrives as a set of things: a tech pack, photographs, a size chart, sometimes a parcel.
Those belong in a mail thread, so they go to [email protected]. We would rather say that plainly than put a button there that does not do what it says.
What This Does Not Promise
That the first sample will be right. Remote confirmation narrows the first sample; the sample is what settles the fit.
Anyone who tells you a pattern can be finalised from photographs has not had one come back.
Two honest routes
Two Ways to Get a Pattern, and When Riding Fit Development Is the Wrong One
There are two honest routes to a cycling garment. This page has spent its length on one of them, so here is a fair account of the other, including who should take it.
Adjust an existing pattern
Develop from the position
Both routes are real ways of working, and each suits a different order. Neither description below is a statement about anybody else's factory.
A block that already exists, drawn before your order and kept on file. The artwork changes; the shape underneath it does not.
A shape drawn for a position instead. The four judgments above settle it before any artwork goes near it.
The axis
Adjusting an existing pattern
Developing from the riding position
What happens
A block that already exists is adjusted, and your artwork goes on it
The four judgments on this page are made for your riders, and a pattern is drawn from them
What it is good at
Getting to a sample sooner, and not paying for development you will not use again
Holding one intention across a size run, season after season
What it costs
The fit is whatever the block already decided; nobody chose where the allowance went
Time before the first sample, and a longer conversation at the start
Who it suits
A first small run testing a design, a commemorative piece, an order where fit is not the complaint you are worried about
A roster across a wide size band, riders who will be photographed, anything you intend to reorder
If the Left Column Describes Your Order, Take It
And we will say so rather than sell you the longer route.
The shortest honest version: if you are not going to reorder it and nobody is going to be photographed in it, pattern development is a cost without a return.
What We Do Not Claim
That we have tested a pattern across body types, that a first sample will be right, or that any fit performs better than another by a measurable amount.
Those are three claims we cannot support, so they are three claims we do not make.
What We Do Not Make
Gloves, footwear of any kind including overshoes, helmets, and hardware such as computers and lights. None of those are garments and none are made here.
Bib-type finished goods are not a product line either — bib and pad work is development and sampling against a pad specification you supply, and the construction detail sits on Cycling Chamois Development.
Ranked by what it drags
Four Ways a Fit Judgment Goes Wrong, Ranked by What Has to Be Re-opened
Not a promise that it never happens. A map of what each mistake drags with it — which is the thing worth knowing before you decide how much time to spend at the start.
Pattern-level
Detail-level
Rounds and revision charges are set out on Sampling & Prototyping. What follows is the order the rework runs in, and what each step reaches.
What was judged wrong
What has to be re-opened
What it drags with it
The riding position itself
The pattern. Back length and armhole both move together
The whole graded set behind it, because the grade was built on the wrong base
Where the allowance went
One or two panels, on the same base pattern
The grade rules survive; only the affected panels are re-cut
A core-fit contact point
A detail on the same pattern — a collar height, a cuff circumference
Nothing else. Caught on a first sample it is an adjustment
The chart the sizes were mapped to
Nothing in the pattern at all
The steps get re-mapped to your chart
The Order Is the Whole Point
Read that table downward and the cost falls away fast. The most expensive judgment is the first one — and it is the one made on the least information, because at brief stage all we have is what you told us.
That is why the questions at the start look excessive for the size of the order.
What We Say Instead of “It Won't Happen”
It happens. What we can tell you is when each mistake stops being cheap: a contact-point fix is cheap at first sample and expensive after grading; a position error is expensive at first sample and considerably worse after it.
Sampling exists to catch these while they are still in the top half of that list.
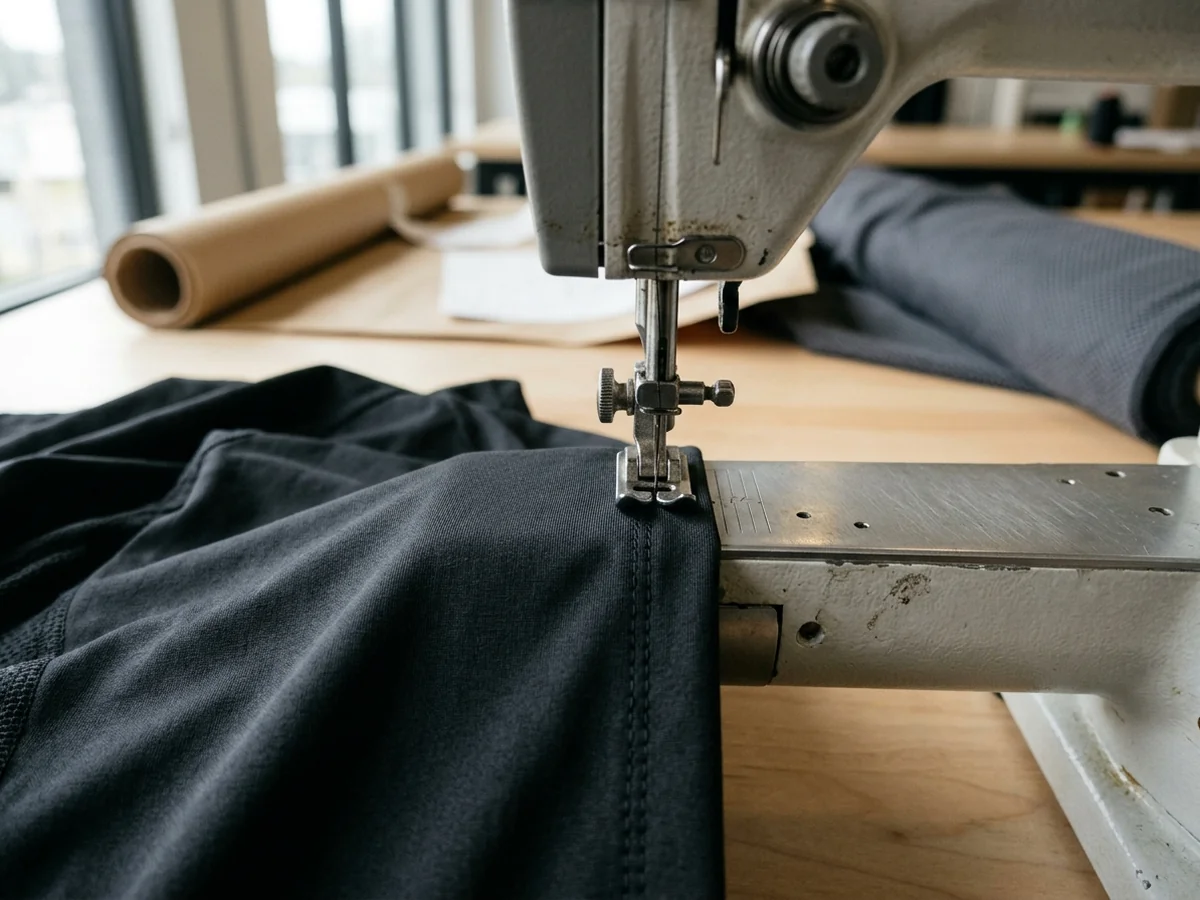
Rework happens here: the seam that has to come apart before anything above it can be re-cut.
Where the Two Included Revision Rounds Are Worth Spending
On the top two rows. Pattern-level questions are the ones that get more expensive with time; a collar height does not.
Sample revisions run two rounds with no additional sampling charge, and what counts as a revision is set out on Sampling & Prototyping.
Before a first brief
Questions Buyers Ask Before Sending a First Brief
What clubs, brands and retailers ask once they have decided fit is the thing they are worried about.
Not tight versus loose. Both carry movement allowance; they differ in where that movement is allowed to show.
Race Fit concentrates it in back length and across the blades, keeps circumference close, and pays for that in how it reads standing still. Club Fit spreads it wider and gives up some close contact on the bike.
By asking about the position rather than the bodies: how low they sit, how long they are out there, how often they come out of the saddle.
Then a sample, judged in the riding position first and standing second.
Yes. Our base range is XS–3XL in separate men's and women's patterns, and if your riders already order against your chart, the grading steps are mapped to yours instead.
That does not reopen pattern development.
30 pieces per style per colourway. Two things follow from it on a fit page specifically:
Sizes mix freely inside one colourway, so a size run does not have to be evenly spread.
Sample revisions run two rounds with no additional sampling charge. What counts as a revision versus a new sampling round is set out on Sampling & Prototyping.
And we make no claim about industry norms, ours or anyone else's.
We develop and sample against a pad specification you supply, from your own pad supplier. Finished bib-type goods are not a product line here.
Gloves, footwear of any kind including overshoes, helmets, and hardware such as computers and lights. None of those are garments and none are made here.
Text is all the form below carries, so a tech pack, artwork and a size chart travel together in a mail thread instead.
An inquiry gets a reply inside 24 business hours. Once a complete tech pack is with us, a quote follows within 48 hours.
Start a Fit Conversation
Riding fit development starts with three things: how your riders sit, roughly how many of them there are, and what you want made. From that we can name the allowance decisions your kit turns on, and say what a first sample would be trying to prove.
A tech pack, artwork and a size chart go by email to [email protected] — this form carries your details and your message only.
 The ease lands low, in back length.
Most of the allowance lands in back length, and what it gives up is how the garment reads standing.
Custom Road Cycling Apparel
The ease lands low, in back length.
Most of the allowance lands in back length, and what it gives up is how the garment reads standing.
Custom Road Cycling Apparel
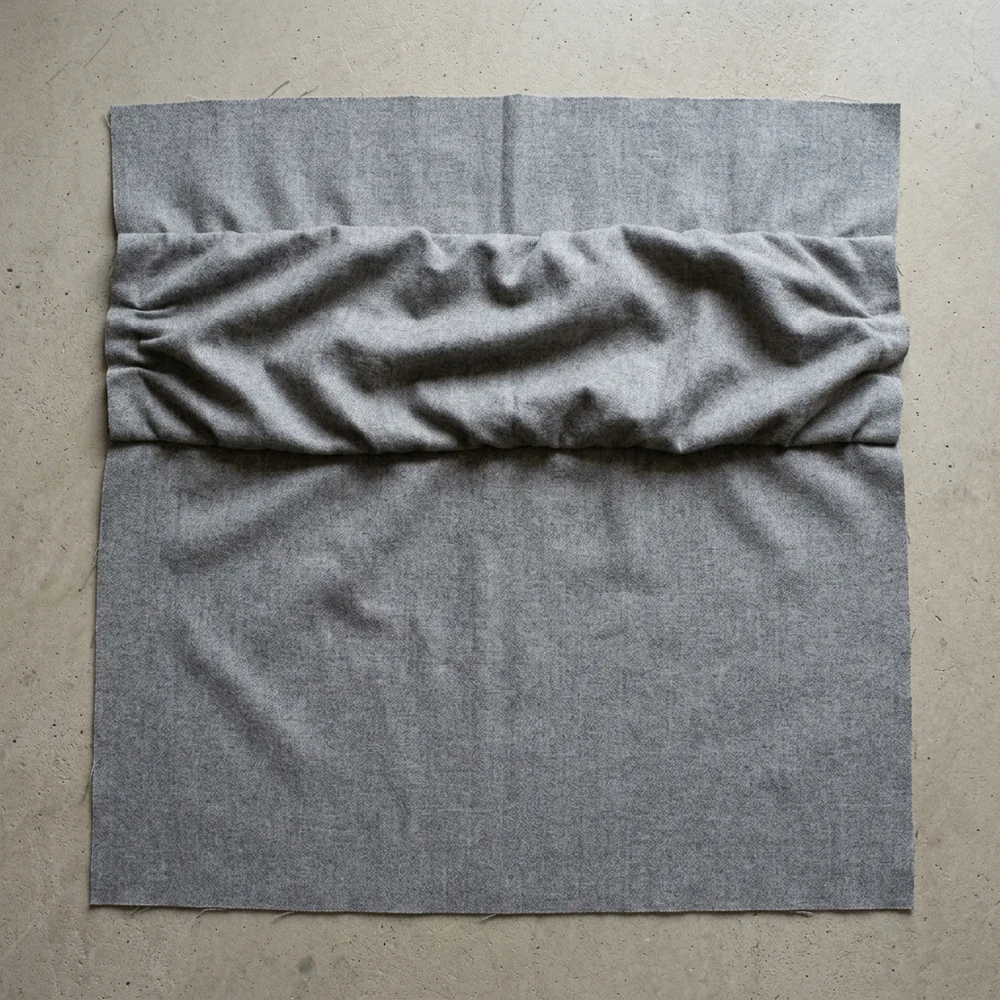 The ease lands high and wide, across the blades.
Most of it goes across the blades, because the rider keeps moving; some close contact is given up for it.
Custom Gravel Cycling Apparel
The ease lands high and wide, across the blades.
Most of it goes across the blades, because the rider keeps moving; some close contact is given up for it.
Custom Gravel Cycling Apparel
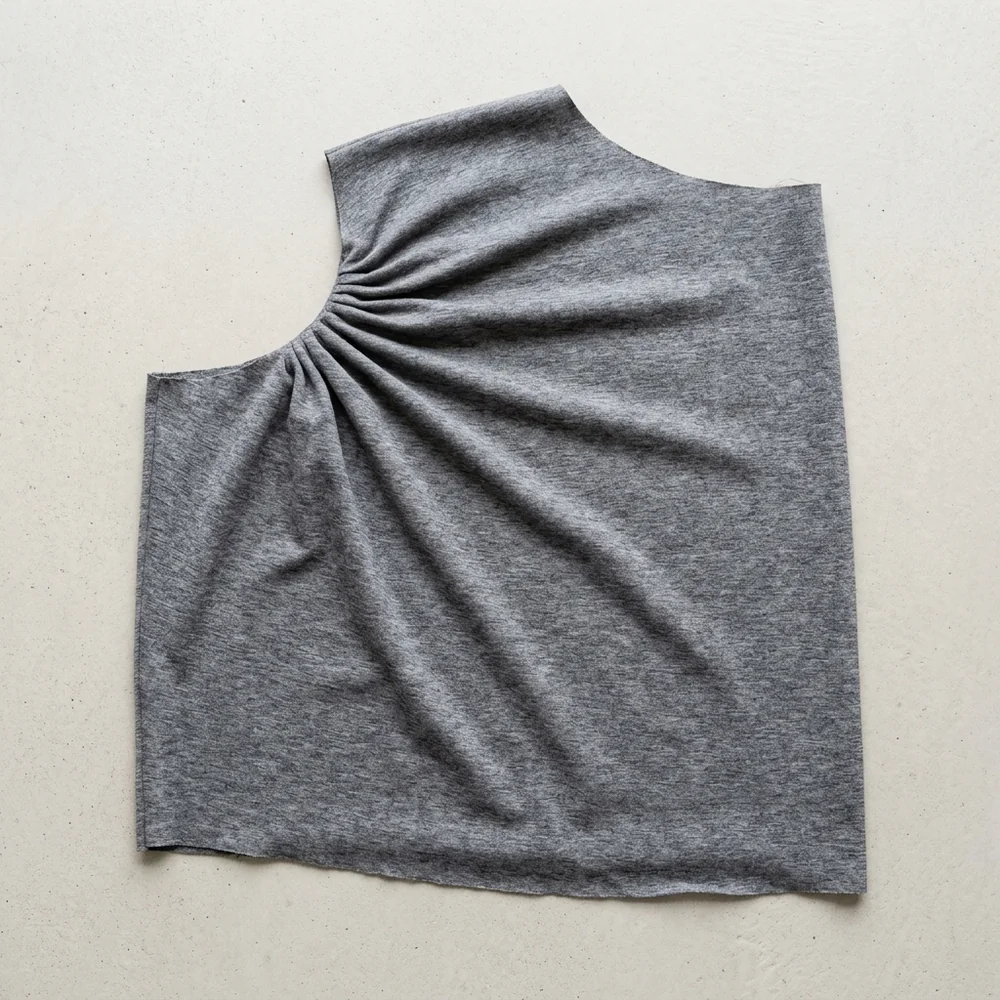 The ease gathers at the armhole and shoulder.
It goes to the armhole and shoulder, and the price is close contact across the chest.
Custom Mountain Bike Apparel
The ease gathers at the armhole and shoulder.
It goes to the armhole and shoulder, and the price is close contact across the chest.
Custom Mountain Bike Apparel
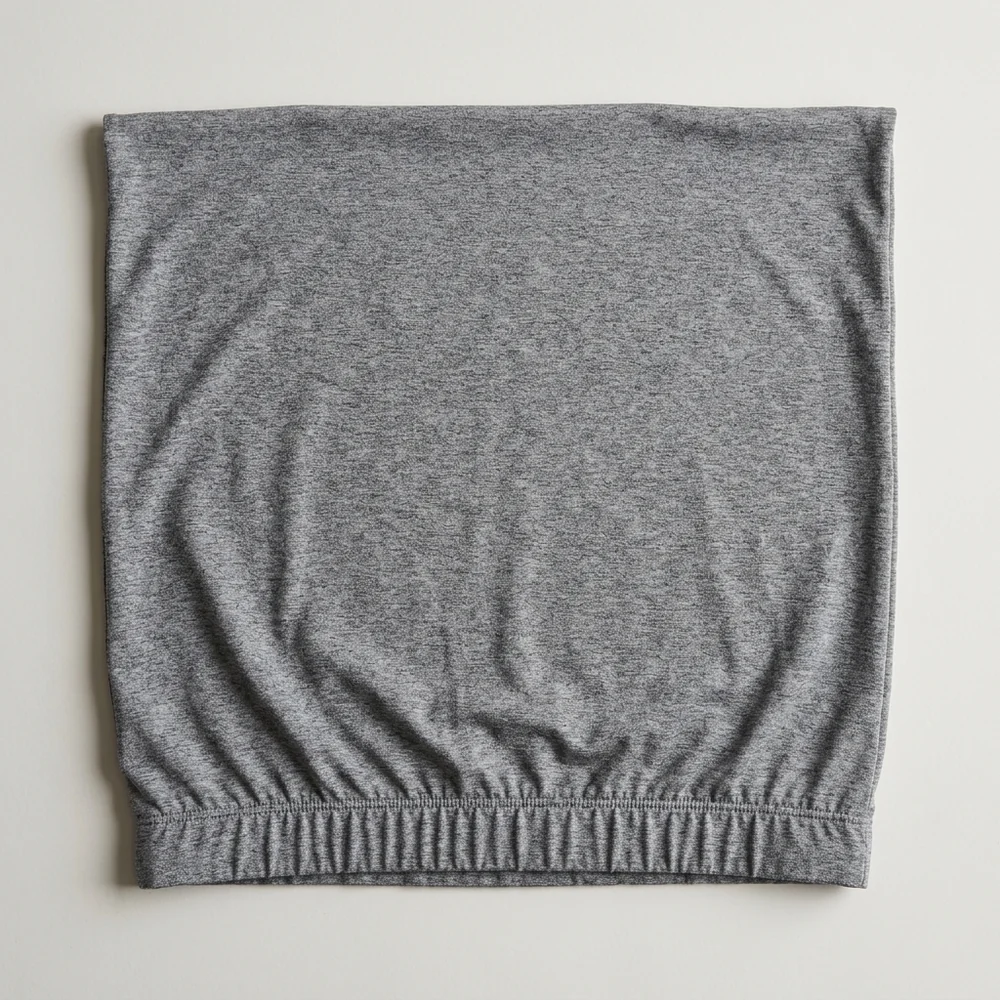 Back length again, but visibly less of it.
Back length again, but less of it, and very little is given up — the most forgiving of the five.
Custom Commuter Cycling Apparel
Back length again, but visibly less of it.
Back length again, but less of it, and very little is given up — the most forgiving of the five.
Custom Commuter Cycling Apparel
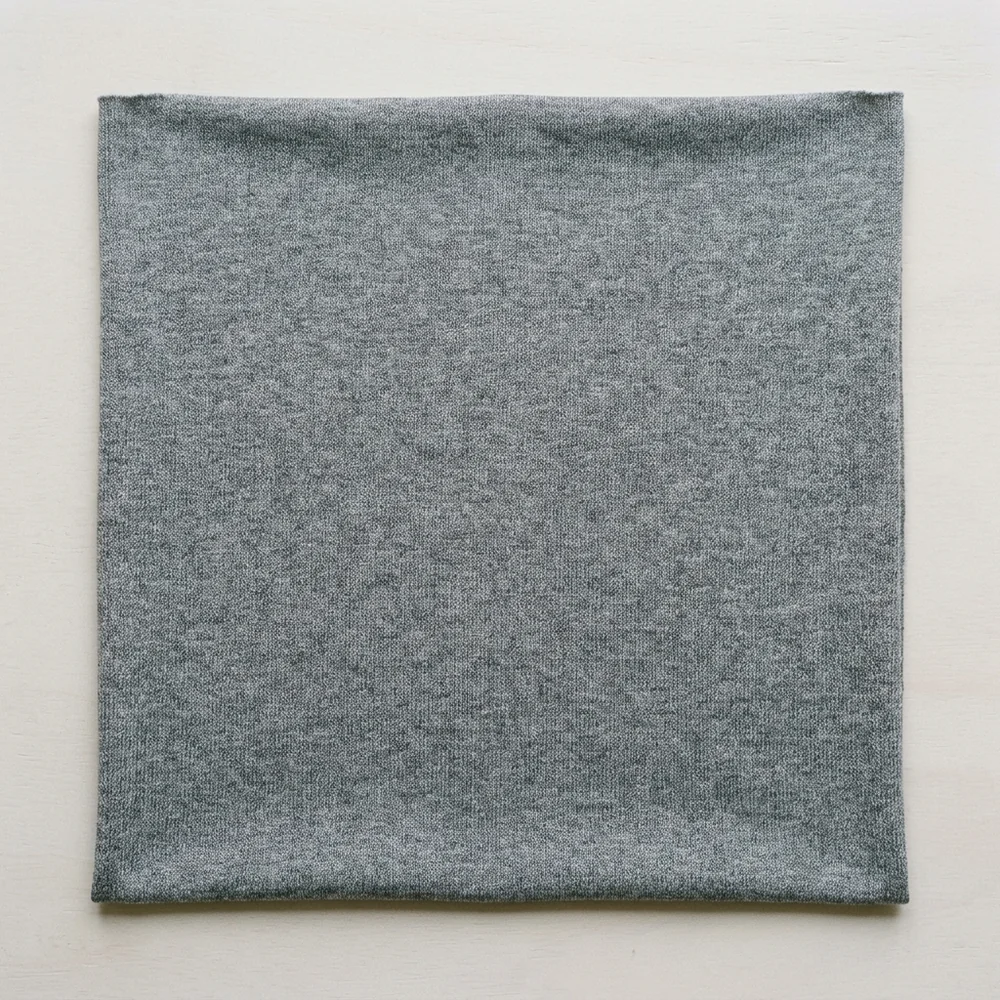 Almost none of it, anywhere.
Allowance is held to a minimum because the position barely changes; comfort off the bike is what goes.
Custom Triathlon Suit
Almost none of it, anywhere.
Allowance is held to a minimum because the position barely changes; comfort off the bike is what goes.
Custom Triathlon Suit